Guide/SendApp Official/Templates
Create and get a template approved
On the official API, to message a customer first you need a template approved by Meta. SendApp Official lets you create templates, add variables and buttons, and submit them to Meta for approval, then syncs their status.
Updated on June 16, 2026 · 7 min read
Before you start
- A connected WhatsApp number (WABA)
- A clear idea of the message and its category
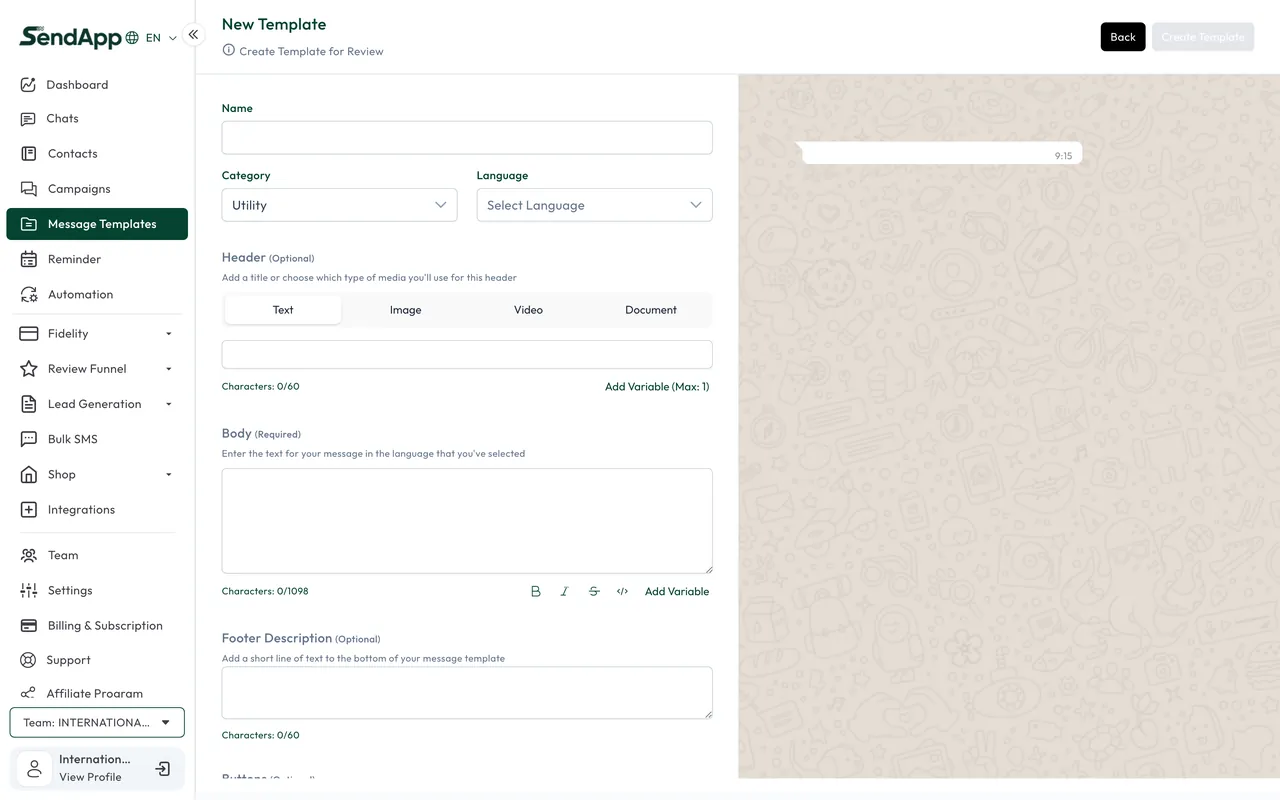
The parts of a template
- Header
- Optional: text or media (image, video, document).
- Body
- The message text, with variables like {{1}}, {{2}} to fill in at send time.
- Footer
- Optional: a single line of fixed text.
- Buttons
- Action buttons: link, call, or quick replies.
Available categories
- Marketing
- Promotions, news, offers. It has a per-message cost and stricter rules.
- Utility
- Updates tied to a customer action (confirmations, order status, reminders).
- Authentication
- Verification and login codes (OTP).
Create and submit to Meta
- 1
Open Templates → Create
Fill in the name, category, language, and the template parts (header/body/footer/buttons).
- 2
Add the variables
Use the placeholders {{1}}, {{2}} in the body: you'll fill them in for each recipient at send time.
- 3
Submit to Meta
Hit submit: the template is sent to Meta for approval.
- 4
Wait for the outcome
The status changes to Approved, Pending, or Rejected. Only Approved ones can be used in campaigns.
Meta decides approval, not SendApp. Write clear messages, consistent with the category, with no deceptive content: you'll reduce rejections. You can sync the status to see Meta's updates.
Common errors
- Template rejected
- Wrong category or non-compliant content. Fix the category/text and resubmit.
- Stays "Pending" for a long time
- Approval is on Meta's side. Sync the status; the timing depends on Meta.
Ready to put it into practice?
Open SendApp and follow the steps in this guide. Need help? Support is one message away.