Guide/SendApp Cloud/Automations
Keyword chatbot
The SendApp Cloud chatbot is keyword-based: when an incoming message contains a word you've defined, a predefined reply is sent. It's not an AI: the replies are fixed texts that you set, predictable and instant.
Updated on June 16, 2026 · 6 min read
Before you start
- At least one connected number
Important: the SendApp Cloud chatbot is not an AI/LLM. It only replies to keywords with predefined messages. If you need an assistant that understands and replies freely, that's a different product (SendApp Agent/Official with AI).
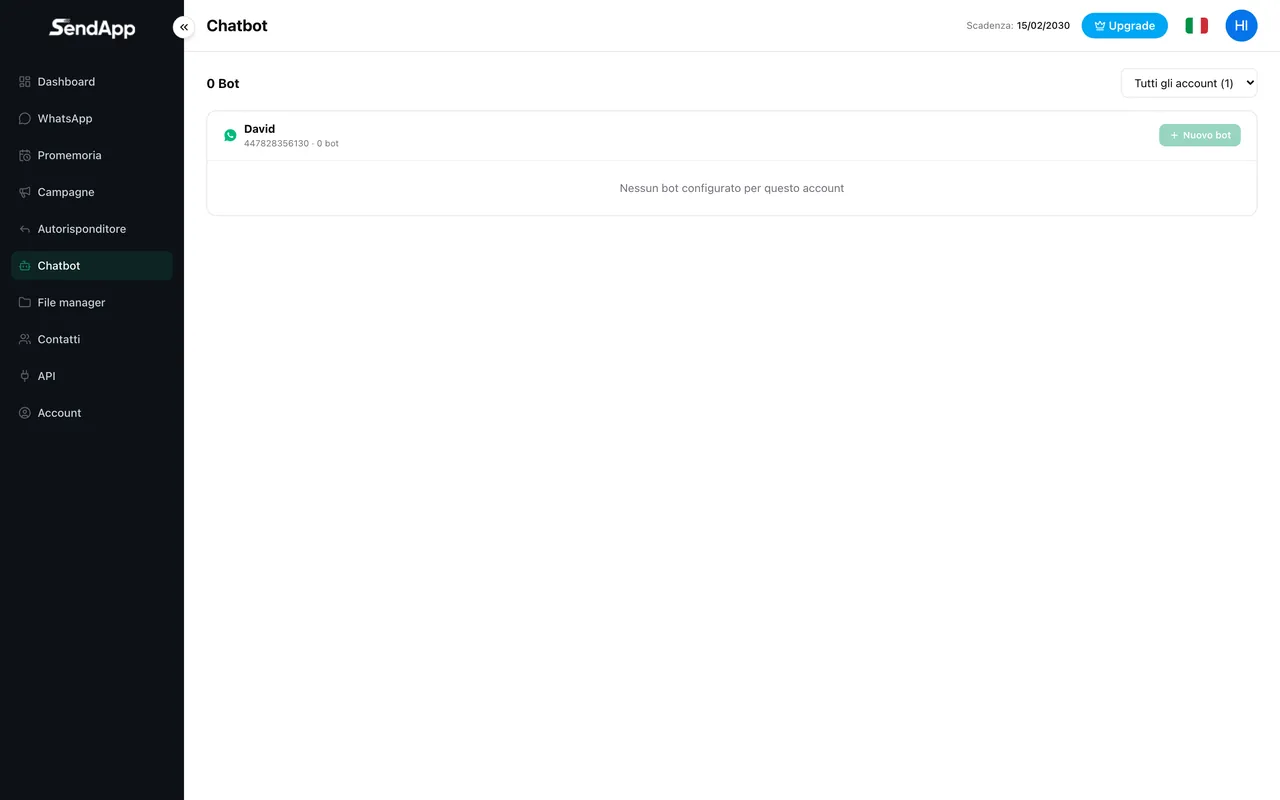
Creating a bot
- 1
Open Chatbot and choose the account
For each connected number you can create one or more bots. Click “New Bot”.
- 2
Set the name and keywords
Keywords are a comma-separated list (e.g. info, prices, hours).
- 3
Choose the match type
Contains, exact, or starts-with: it defines how the word must appear in the customer's message.
- 4
Write the reply
Text and/or media to send when the rule triggers.
- 5
Set recipients and delay
Numbers only, groups only, or both; and an optional delay before the reply.
- 6
Save and activate
Activate the bot with the play/pause button.
Automatic subscribe and unsubscribe
A rule can, in addition to replying, subscribe or unsubscribe the sender to/from an address book: useful for building lists automatically (e.g. anyone who writes “YES” is added to a group) or for handling “STOP” requests.
Disabling bots
Each rule is activated/deactivated individually with play/pause; to turn them all off you pause them one by one (there's no global switch). To delete one permanently, use the trash icon.
Ready to put it into practice?
Open SendApp and follow the steps in this guide. Need help? Support is one message away.