Guide/SendApp Cloud/Sending & campaigns
Create a campaign (bulk send)
SendApp Cloud campaigns send a message to a group of contacts from your connected numbers. Unlike the official API, you don't need approved templates: you write free text. For this very reason it should be used wisely, for transactional and operational messages.
Updated on June 16, 2026 · 6 min read
Before you start
- At least one connected number
- A group of contacts
- Available message credit in your plan
Use SendApp Cloud for transactional and operational messages to contacts who expect to hear from you. For high-volume mass marketing, the official API (SendApp Official) is safer: sending promotions to strangers from a number connected via QR exposes you to the risk of being blocked.
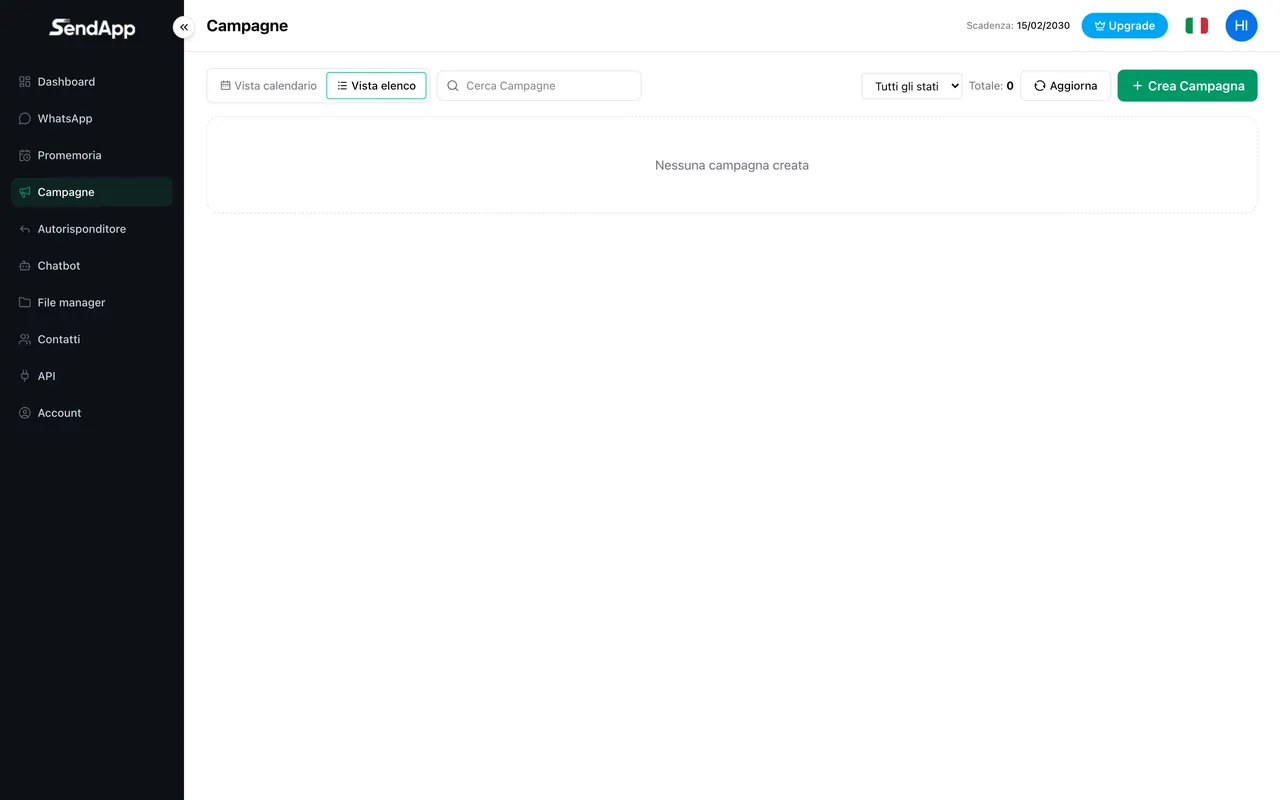
Creating the campaign
- 1
Open Campaigns → New campaign
Start the creation process.
- 2
Give it a name and choose the group
Select the group of recipient contacts.
- 3
Choose the numbers to use
Select one or more WhatsApp accounts: the sends will be distributed across them.
- 4
Compose the message
Free text and, if you like, media (image/video/document).
- 5
Set timing and limits
Send date/time, minimum/maximum delay between messages (from 10 to 300 seconds), daily limit, and time window (e.g. 09:00–17:00).
- 6
Save and start
The campaign enters the queue and starts according to the schedule.
Delays and time window
The random delay between one message and the next (and the time window) makes the sending more “human” and reduces the risk of being blocked. On new numbers, use wider delays and low volumes.
Monitoring and failures
- Track the campaign status (active, paused, completed, error).
- Open the message detail with a filter for all/sent/failed.
- Re-send only to the failures, without re-sending to those who already received it.
Ready to put it into practice?
Open SendApp and follow the steps in this guide. Need help? Support is one message away.