Guide/SendApp Agent/Channels
Install the chat widget on your site
The chat widget turns your site into a conversation channel: visitors open a chat bubble and write, the AI responds, and you find everything in the same inbox as your other channels. It installs with a single tag, with no dependencies and no build.
Updated on June 16, 2026 · 5 min read
Before you start
- An Account (AI bot) on SendApp Agent
- Access to your site's code (or to your tag/theme manager)
How it works
The widget is a self-contained JavaScript script: it already includes its own styling (inline CSS) and requires no external libraries. Once pasted into your site, it shows the chat bubble; visitor conversations arrive in the Chat section and persist even if the visitor reloads the page.
Install the widget
- 1
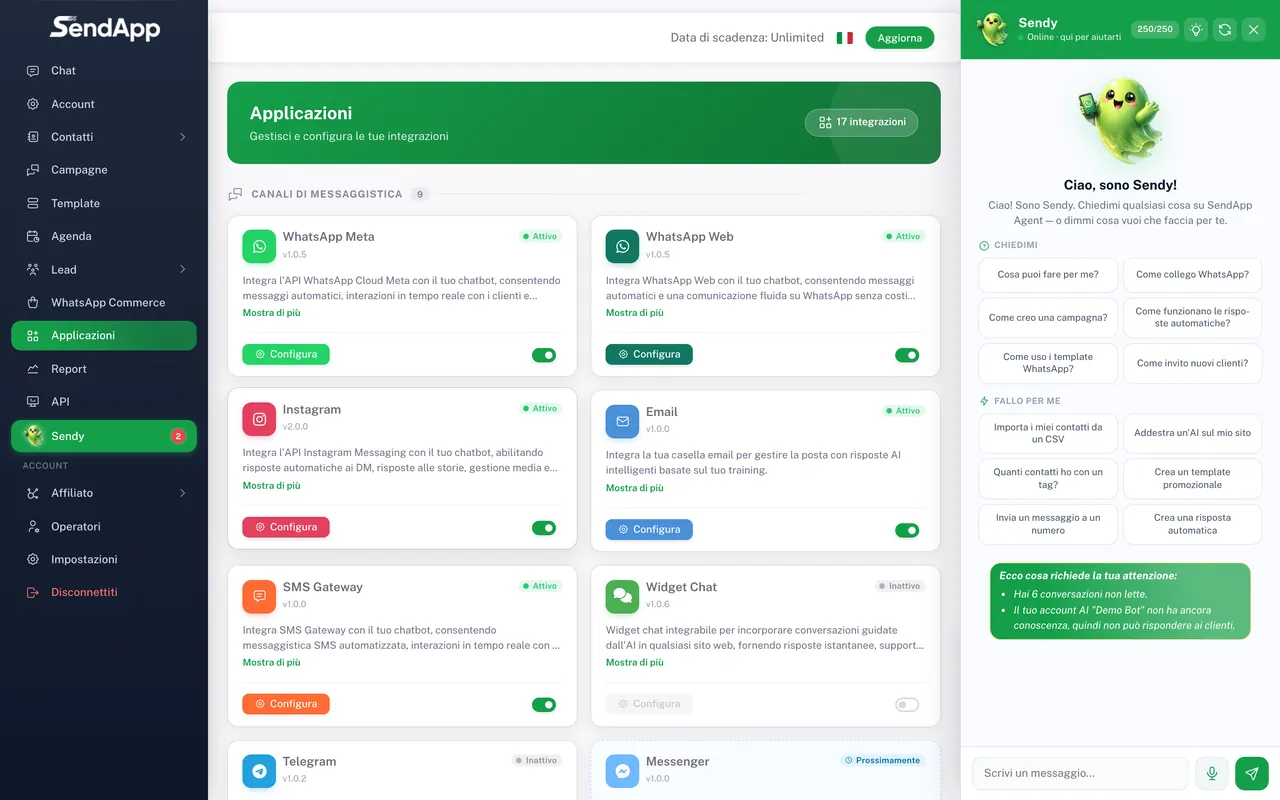
Open "Applications" and choose "Widget"
From the Applications menu, select the Widget and the Account to connect it to.
- 2
Copy the code snippet
SendApp generates a single <script> tag dedicated to your Account. Copy it.
- 3
Paste it into your site
Paste the snippet into your site's pages, ideally before the closing </body> tag. On CMSs and website builders, you can use it as "custom code/HTML".
- 4
Publish and verify
Open your site: the chat bubble appears. Write a test message and check that it arrives in the Chat section of SendApp.
Customize the widget's color and welcome message to match your brand. A clear greeting ("Hi! How can we help you?") boosts engagement.
Common errors
- The widget doesn't appear
- Check that the snippet is pasted on every page and that it isn't blocked by other scripts. On some builders it needs to go in the "end-of-page code" area.
- Conversations aren't arriving
- Check that you connected the widget to the right Account and that the AI is active on the Account.
Ready to put it into practice?
Open SendApp and follow the steps in this guide. Need help? Support is one message away.