Guide/SendApp Agent/Channels
Connecting WhatsApp to SendApp Agent (Cloud API and Web/QR)
WhatsApp is SendApp Agent's main channel, and you can connect it in two very different ways. Choosing the right one matters: it changes what you can do and how safe you are from the risk of having your number blocked. Here we look at both and when each one is the better fit.
Updated on June 16, 2026 · 8 min read
Before you start
- An active SendApp Agent account
- A phone number dedicated to WhatsApp Business
- For the official API: a Meta Business account
The two methods compared
| WhatsApp Cloud API (official) | WhatsApp Web (QR) | |
|---|---|---|
| How it connects | Official authorization with Meta | Scanning a QR code |
| Green checkmark possible | Yes | No |
| Bulk/marketing sends | Yes, with approved templates | Transactional/operational only (ban risk) |
| Cost per message | Meta rates by category/market | No per-message cost |
| Ideal for | Marketing, campaigns, high volumes | Day-to-day operations, support, few numbers |
For marketing and bulk sends, use the official API (or SendApp Official). Connecting via QR is meant for transactional and operational messages: using it for promotional campaigns exposes you to the risk of having your number blocked by WhatsApp.
Option A — Connect WhatsApp via the official Meta API
- 1
Open “Applications” from the menu
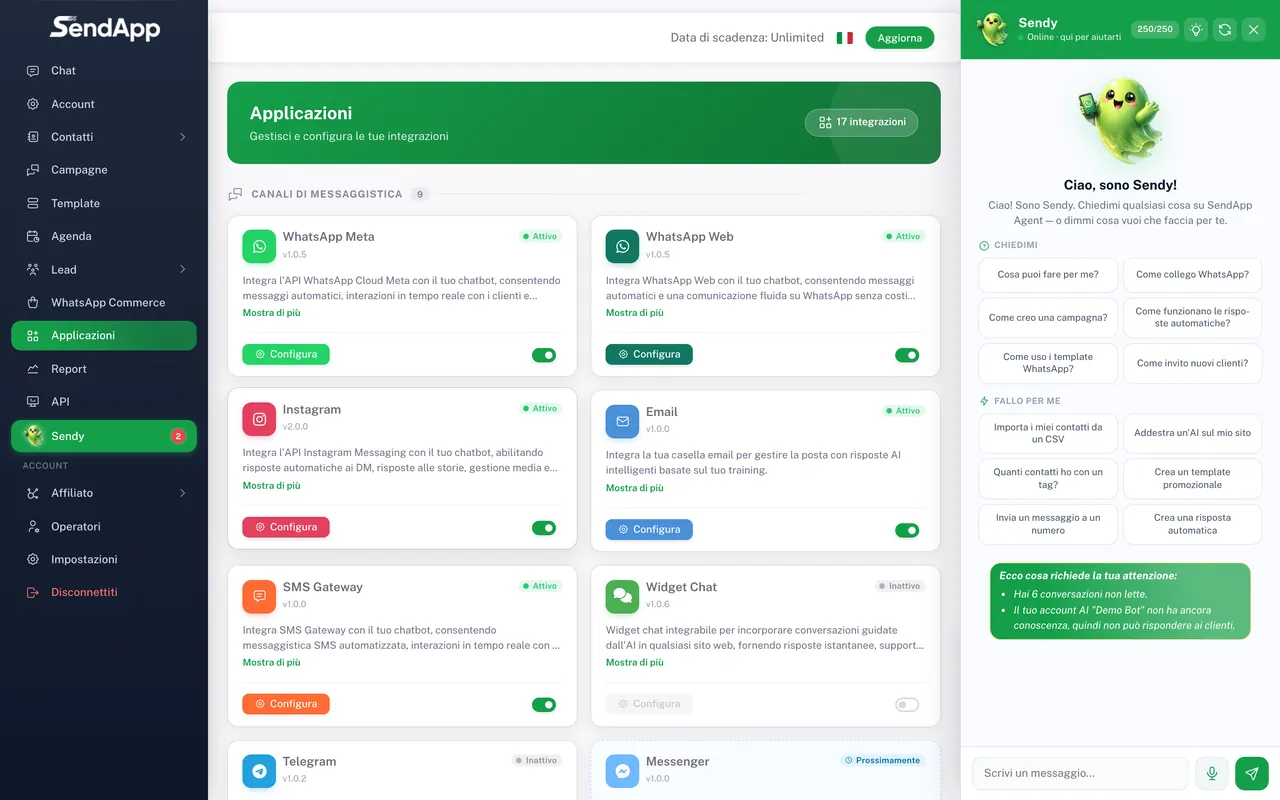
In SendApp Agent, channels are connected from the Applications section: it's the list of channels (WhatsApp Meta/Web, Telegram, Instagram, Messenger, Email, SMS, Widget) and connectable tools. Select “WhatsApp Meta”.
- 2
Choose the Account to connect the number to
Each WhatsApp number connects to an “Account” (the AI bot you create in the Account section). Select the Account to associate it with, or create a new one first.
- 3
Start the connection with Meta
Press the connect button: the official Meta window opens. Sign in with the account that manages your WhatsApp Business and authorize SendApp. The screens, the number selection, and the verification are handled entirely by Meta — follow the on-screen instructions (and, if in doubt, Meta's Help Center).
- 4
Confirm and return to SendApp
Once the authorization is complete, the number shows as connected to the Account with a “Connected” status, and conversations start arriving in the Chat section.
One number per Account: connecting a second number to the same Account overwrites the first. To manage multiple WhatsApp numbers, create a separate Account for each one (see the “Operators and permissions” guide and the FAQ below).
The green checkmark and business verification are requested and managed in Meta's Business Manager, not in SendApp: they depend on Meta's approval. For the Meta-side steps, refer to Meta's Help Center.
Option B — Connect your number via QR (WhatsApp Web)
- 1
Open “Applications” and choose “WhatsApp Web”
Select WhatsApp Web and the Account to connect the number to.
- 2
Press Connect: a QR appears
A temporary QR code is shown, which automatically regenerates every ~45 seconds.
- 3
Open WhatsApp on your phone
Go to Settings → Linked devices → Link a device.
- 4
Scan the QR
Point the camera at the QR shown by SendApp, within a few seconds before it regenerates.
- 5
Wait for the connection
The status changes to “Connected” and conversations start arriving in the Chat section.
Keep your phone on and online: just like WhatsApp Web, the QR connection uses the phone as its reference point. Also, if the connected number changes during the session, the instance is deactivated for safety and you'll need to reconnect the number.
Common mistakes and troubleshooting
- The QR regenerates before you scan it
- The QR is short-lived (~45 seconds) for security and regenerates on its own. Keep your phone ready and scan it as soon as it appears.
- Channel “Disconnected” after a few days (QR)
- Almost always the phone went offline or another WhatsApp Web session is conflicting. Reopen Linked devices on your phone, log out of sessions you don't recognize, and rescan.
- Templates aren't delivered (Meta)
- Often the payment method is missing on the number/WABA: marketing templates stay on a single check (“sent”, never “delivered”). Add a card in Meta's Business Manager.
- The connection with Meta fails
- Make sure you manage the WhatsApp Business with the Meta account you're using and that the number isn't already active on another WhatsApp Business app. The Meta-side steps are explained in Meta's Help Center.
Ready to put it into practice?
Open SendApp and follow the steps in this guide. Need help? Support is one message away.