Guide/SendApp Agent/Channels
Connect Facebook Messenger
With SendApp Agent you manage your Facebook Page messages (Messenger) in the same inbox as your other channels. The connection happens by authorizing the Page on Meta.
Updated on June 16, 2026 · 5 min read
Before you start
- A Facebook Page
- Permission to manage the Page on Meta
- An Account (AI bot) on SendApp Agent
What it's for
By connecting Messenger, the messages people send to your Page arrive in the Chat section, where the AI can respond and operators can step in.
Connect Messenger to SendApp
- 1
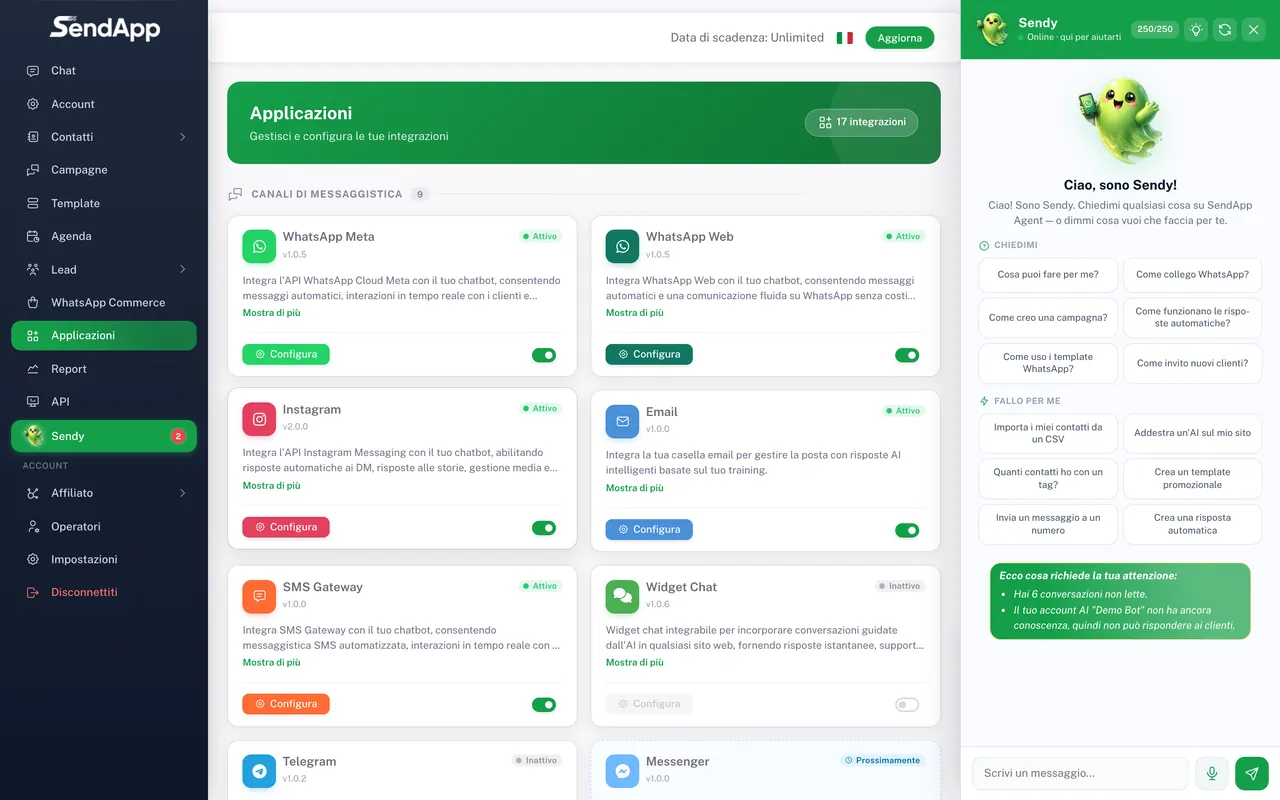
Open "Applications" and choose "Messenger"
From the Applications menu, select the Messenger channel and the Account to connect it to.
- 2
Authorize with Meta
The official Meta window opens: sign in and grant permissions on the Page. The screens are managed by Meta — follow the on-screen instructions (and Meta's Help Center if you have any doubts).
- 3
Select the Page
Choose the Page whose messages you want to manage and confirm.
- 4
Verify in Chat
The Page's messages start arriving in the Chat section.
Reply window
As on other Meta channels, there are rules about the reply window: for certain out-of-window messages, Messenger requires the use of specific tags. SendApp handles sending according to the platform's rules.
Common errors
- I don't see the Page's messages
- Check that you authorized the correct Page and that you have management permissions for it on Meta.
- The Page doesn't show up
- Missing permissions: check the roles on the Page and re-authorize.
Ready to put it into practice?
Open SendApp and follow the steps in this guide. Need help? Support is one message away.