Guide/SendApp Cloud/Getting started
Connect a WhatsApp number via QR
SendApp Cloud connects your WhatsApp number by scanning a QR code, just like WhatsApp Web does. It doesn't use Meta's official API: it's designed for transactional and operational messages from your number. Here we'll see how to connect it and what to do if something goes wrong.
Updated on June 16, 2026 · 6 min read
Before you start
- A SendApp Cloud account
- A phone with WhatsApp active on the number to connect
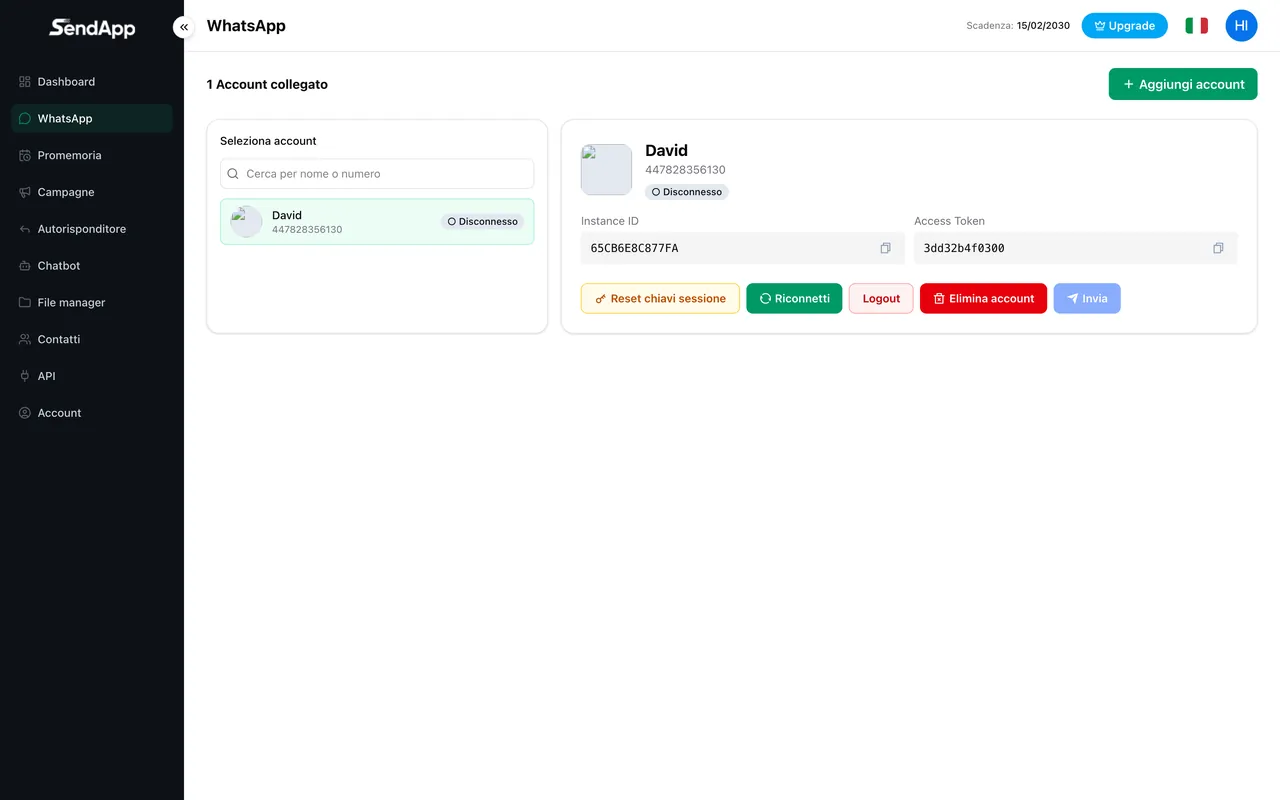
Adding an account
- 1
Open WhatsApp from the menu
Go to the WhatsApp/Account section and click “Add account”.
- 2
Wait for the QR
A QR code is shown. It regenerates automatically every ~45 seconds for security.
- 3
On your phone, open Linked devices
WhatsApp → Settings → Linked devices → Link a device.
- 4
Scan the QR
Point the camera at the QR shown by SendApp.
- 5
Wait for the connection
The status switches to “Connected” and the account is ready to use.
Keep your phone on and online: like WhatsApp Web, the connection uses the phone as a reference. If it stays offline for a long time, the account can disconnect and you'll need to scan the QR again.
Common errors and solutions
- Conflict with another session
- If a conflict error appears, another WhatsApp Web/Desktop session is interfering. On your phone open Linked devices, log out of the ones you don't recognize, wait for the timer, and try again.
- “Waiting for this message” on the recipient's phone
- This can happen after a reconnection: use the session key reset feature (for a specific number or for all of them) to fix it.
- The QR regenerates before you can scan it
- This is normal (every ~45 seconds). Keep your phone ready and scan it as soon as it appears.
Ready to put it into practice?
Open SendApp and follow the steps in this guide. Need help? Support is one message away.