- Introduction
Automate WhatsApp message sending processes via Sendapp And Google Sheets using Make (formerly Integromat) allows you to efficiently manage your communications. In this guide, we'll show you how to create an integration between Sendapp And Google Sheets to send WhatsApp messages whenever new data is added to the spreadsheet.
Step 1: What you need
Before you begin, make sure you have:
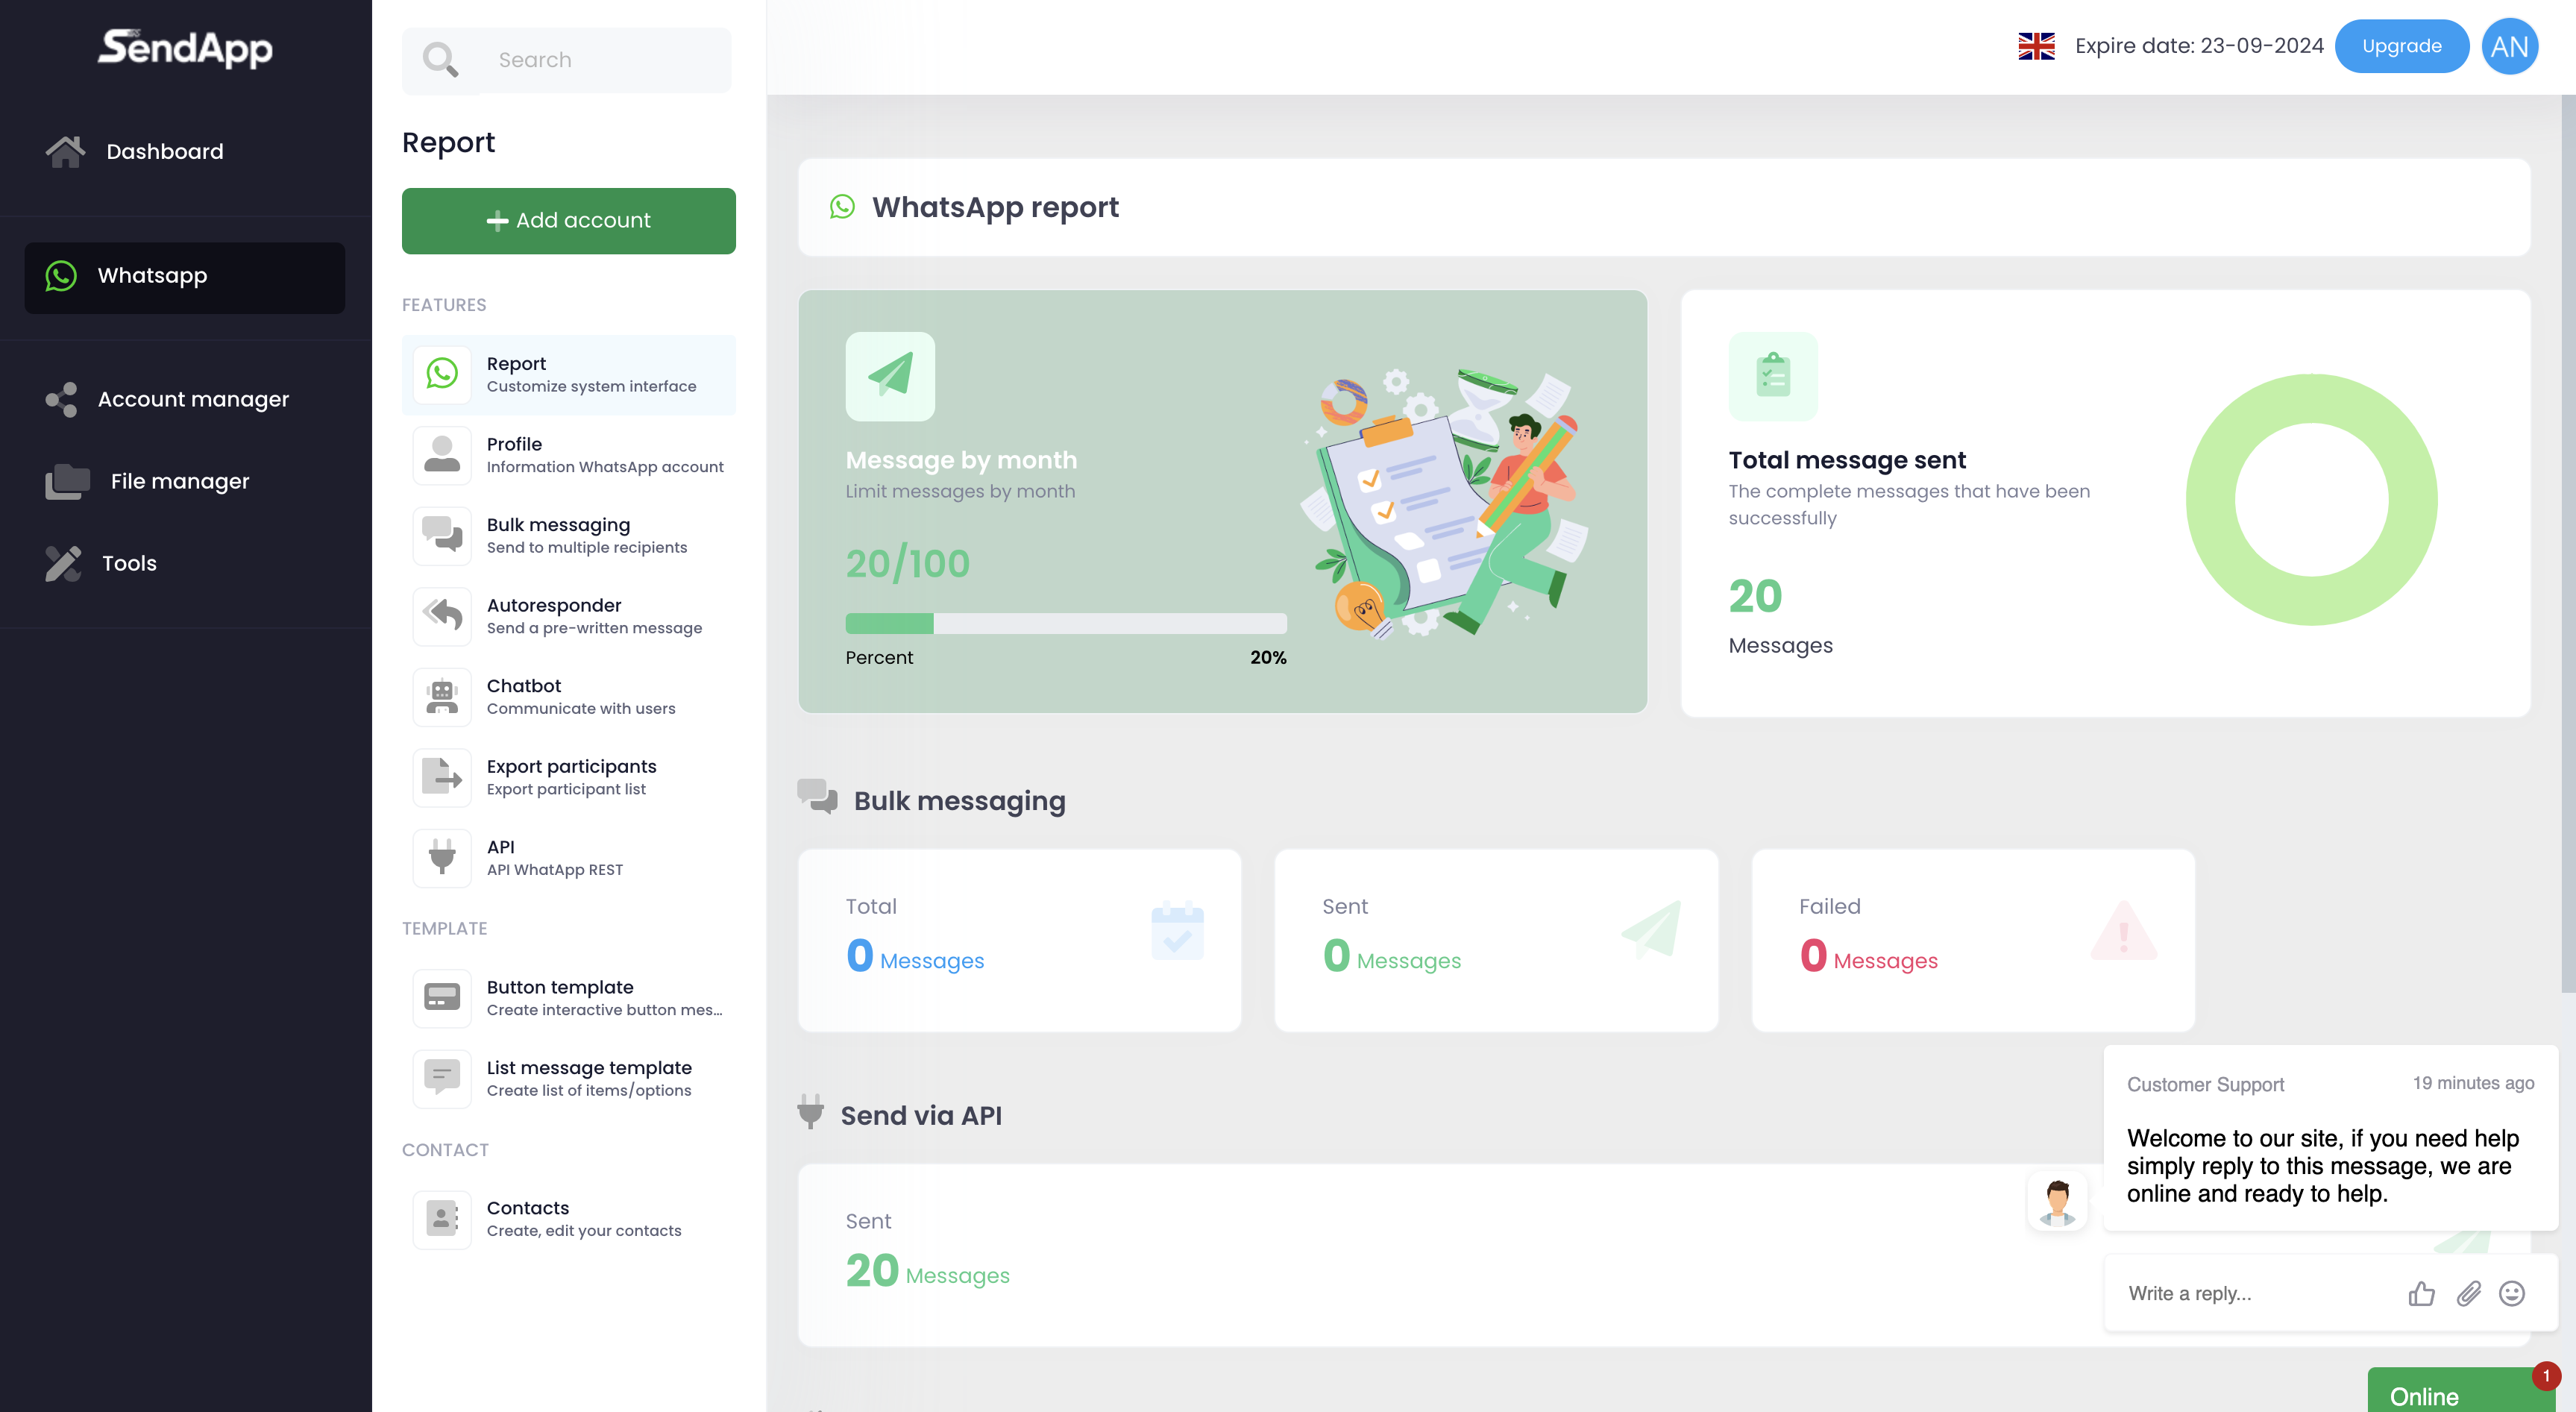
- An account Sendapp Cloud active.
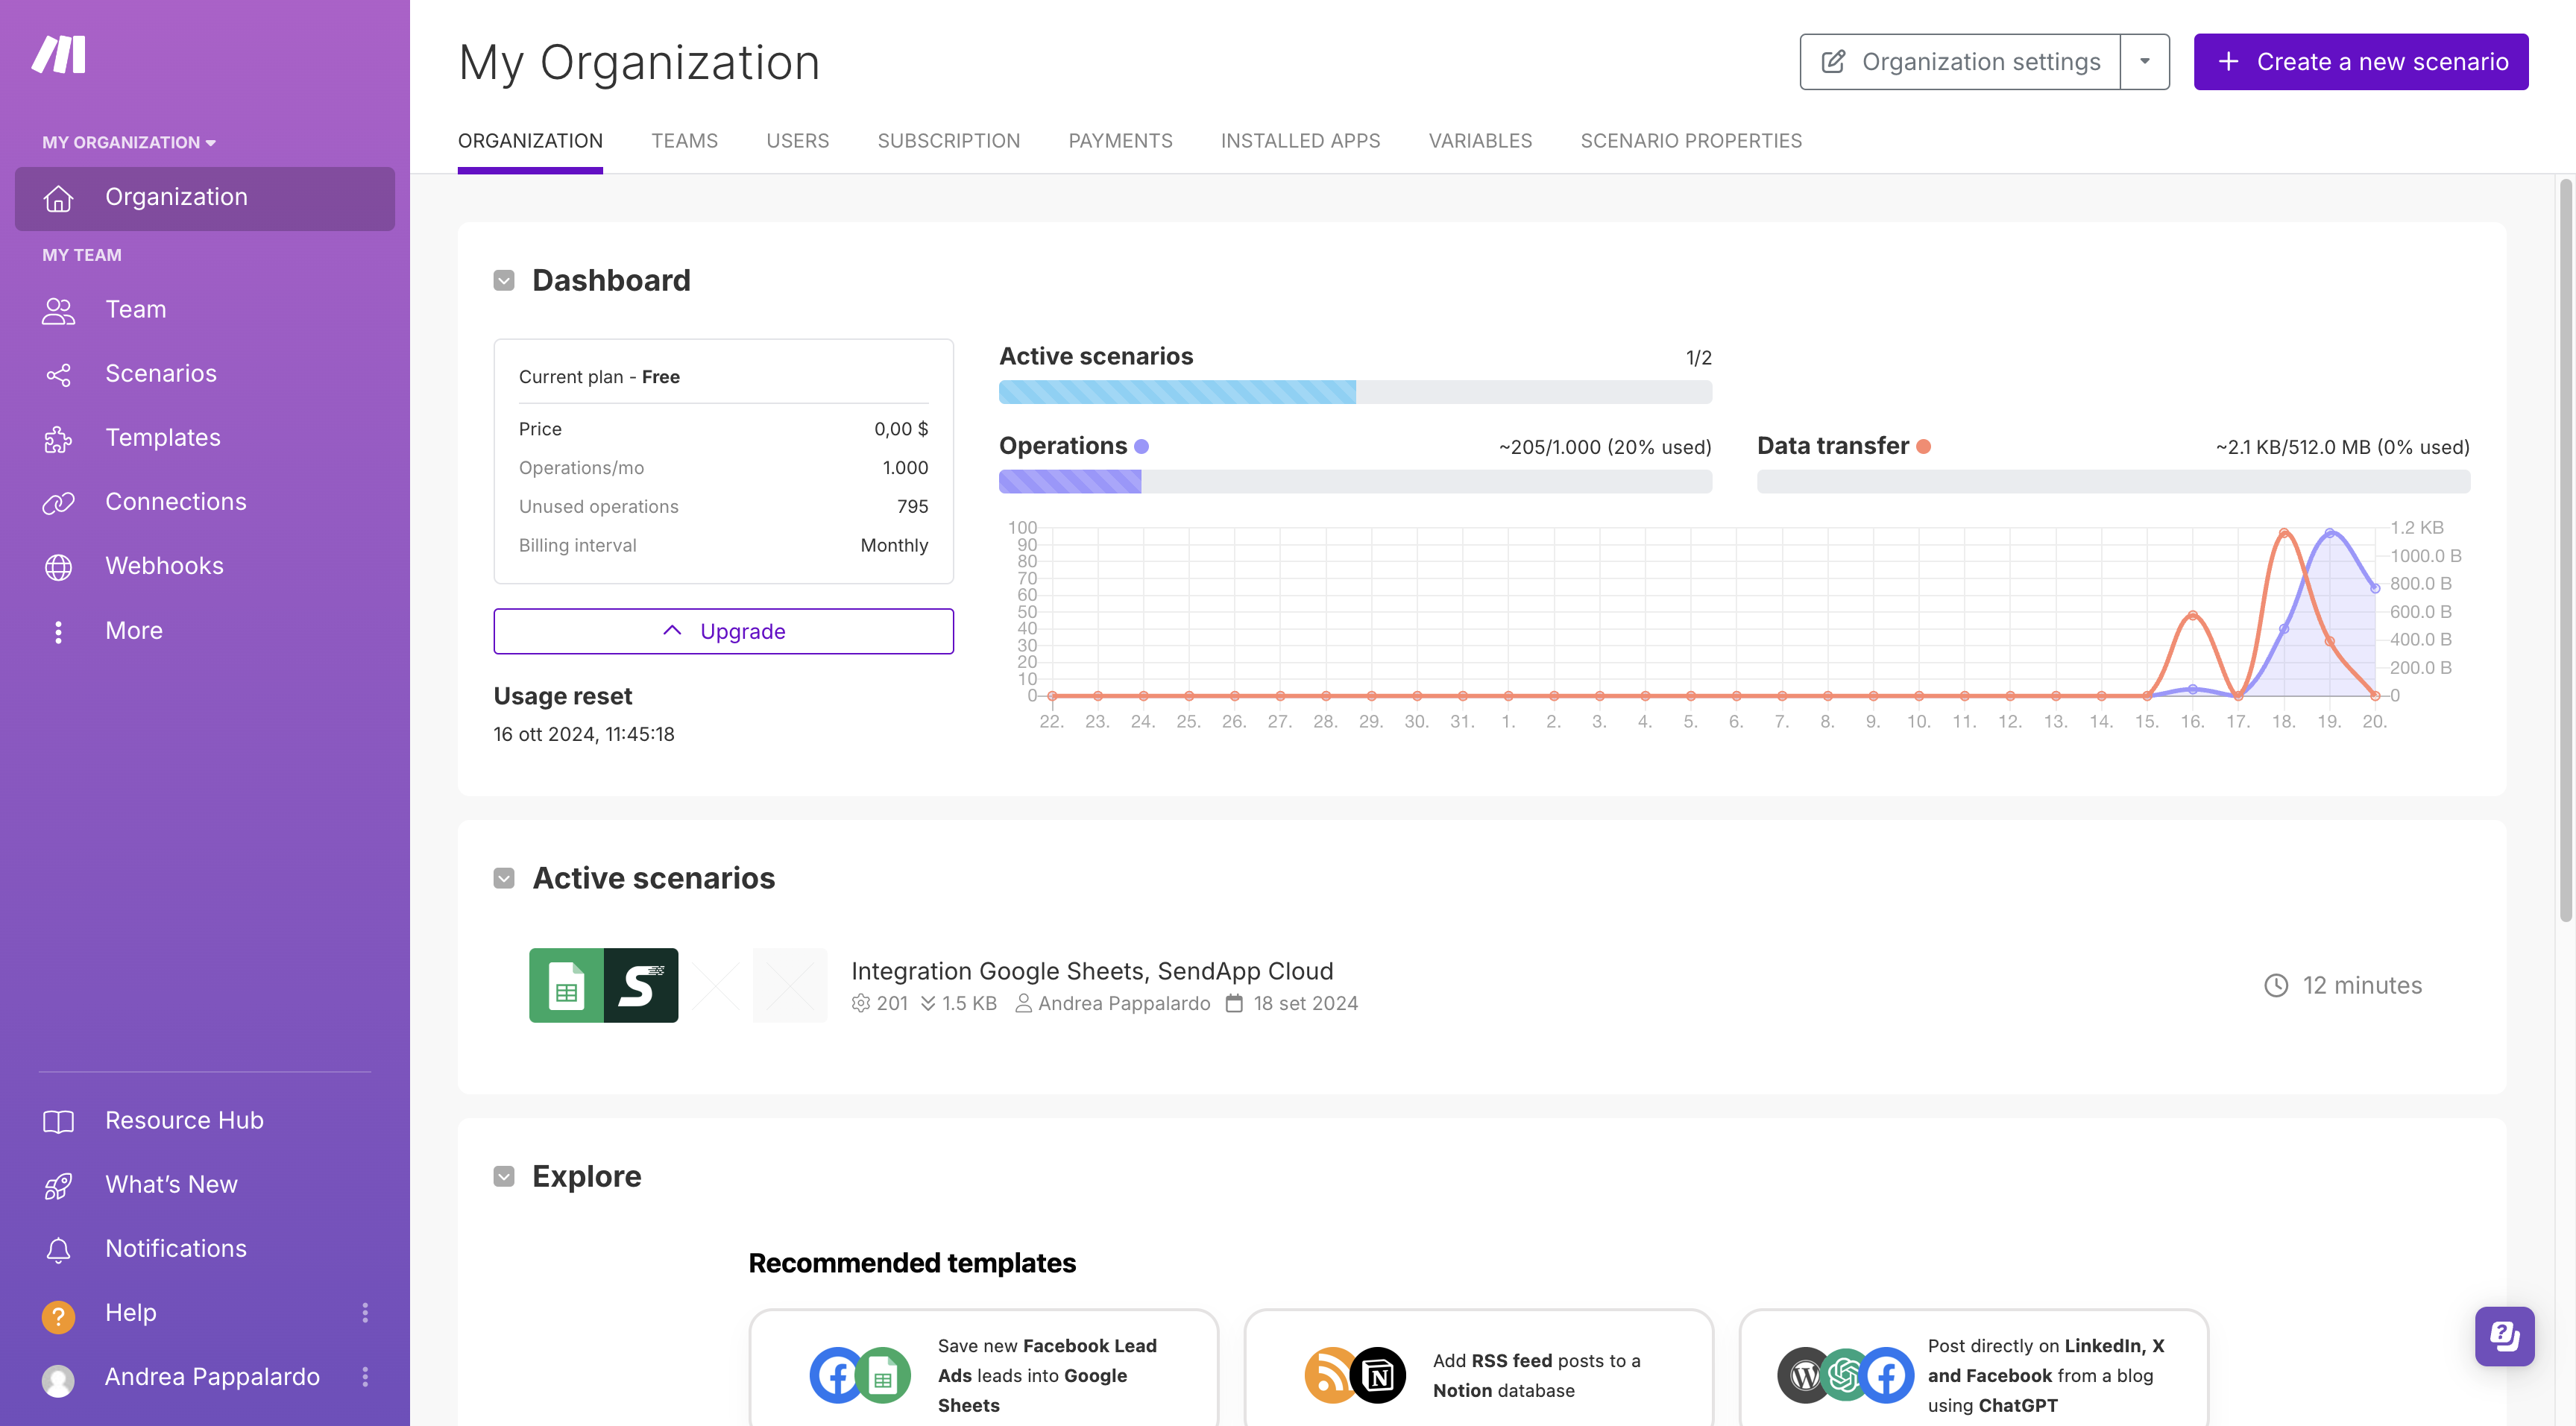
- An account Make:
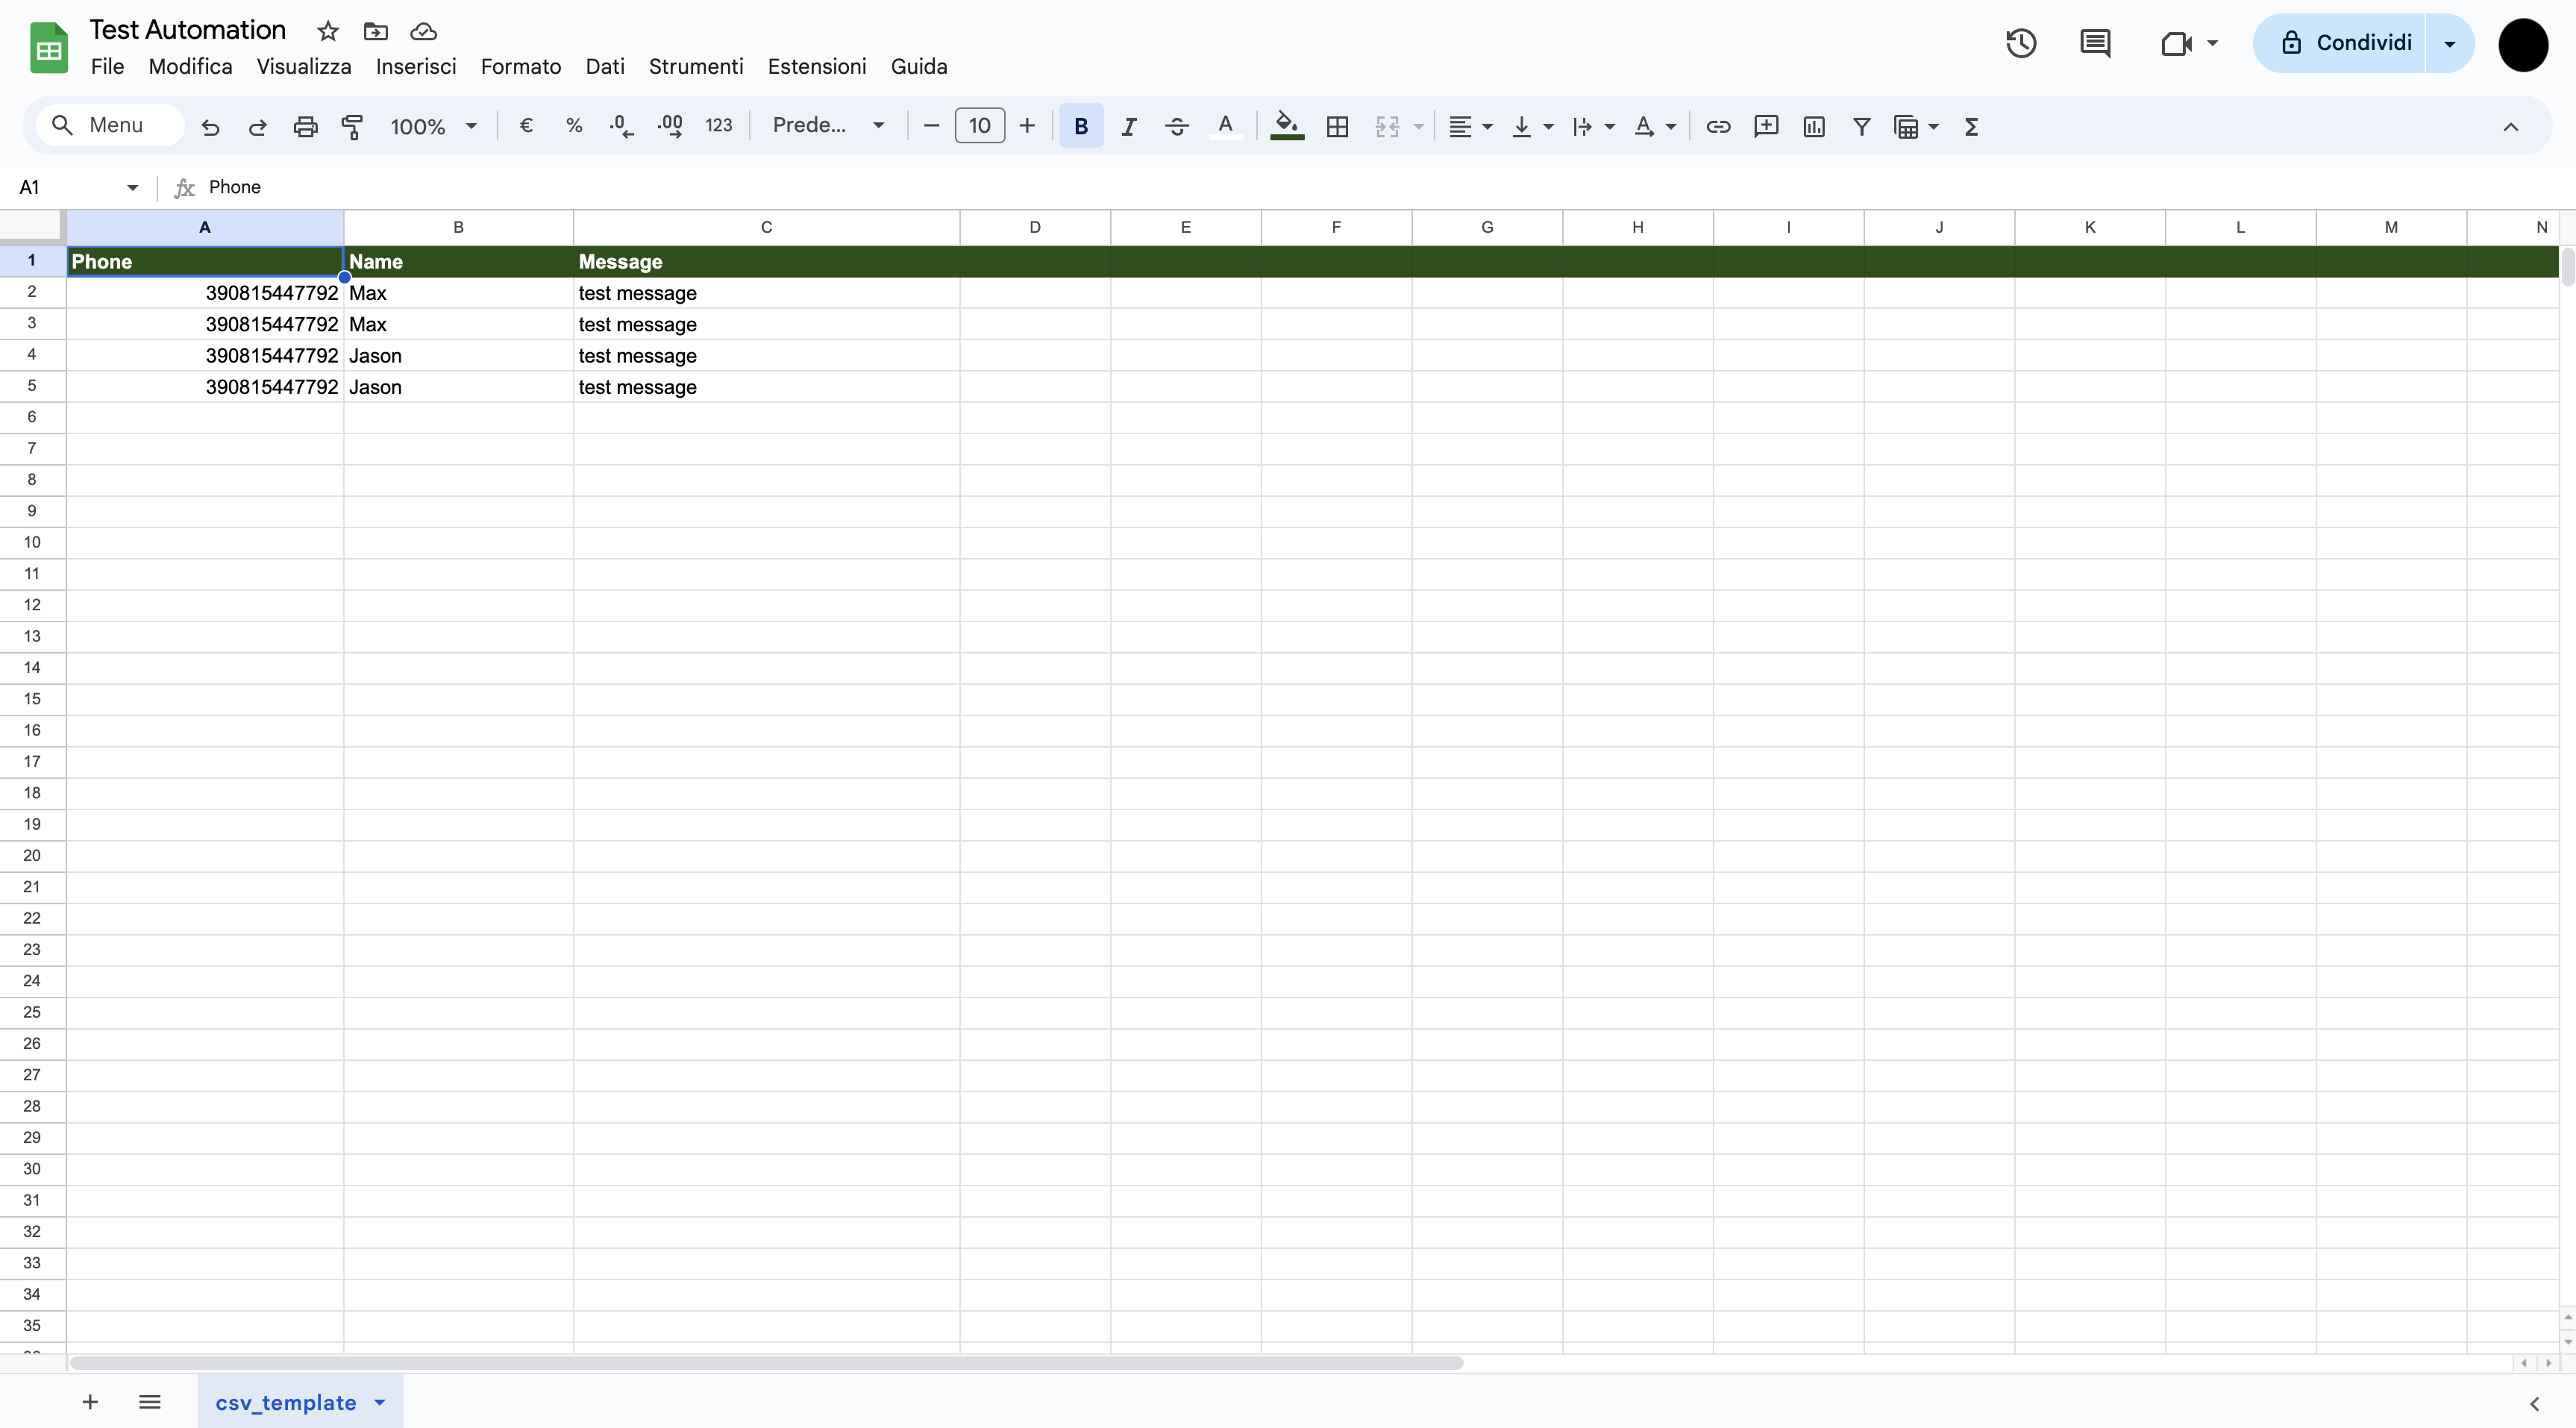
- Access to Google Sheets and a CSV template ready with the information you want to use (such as phone numbers and messages).
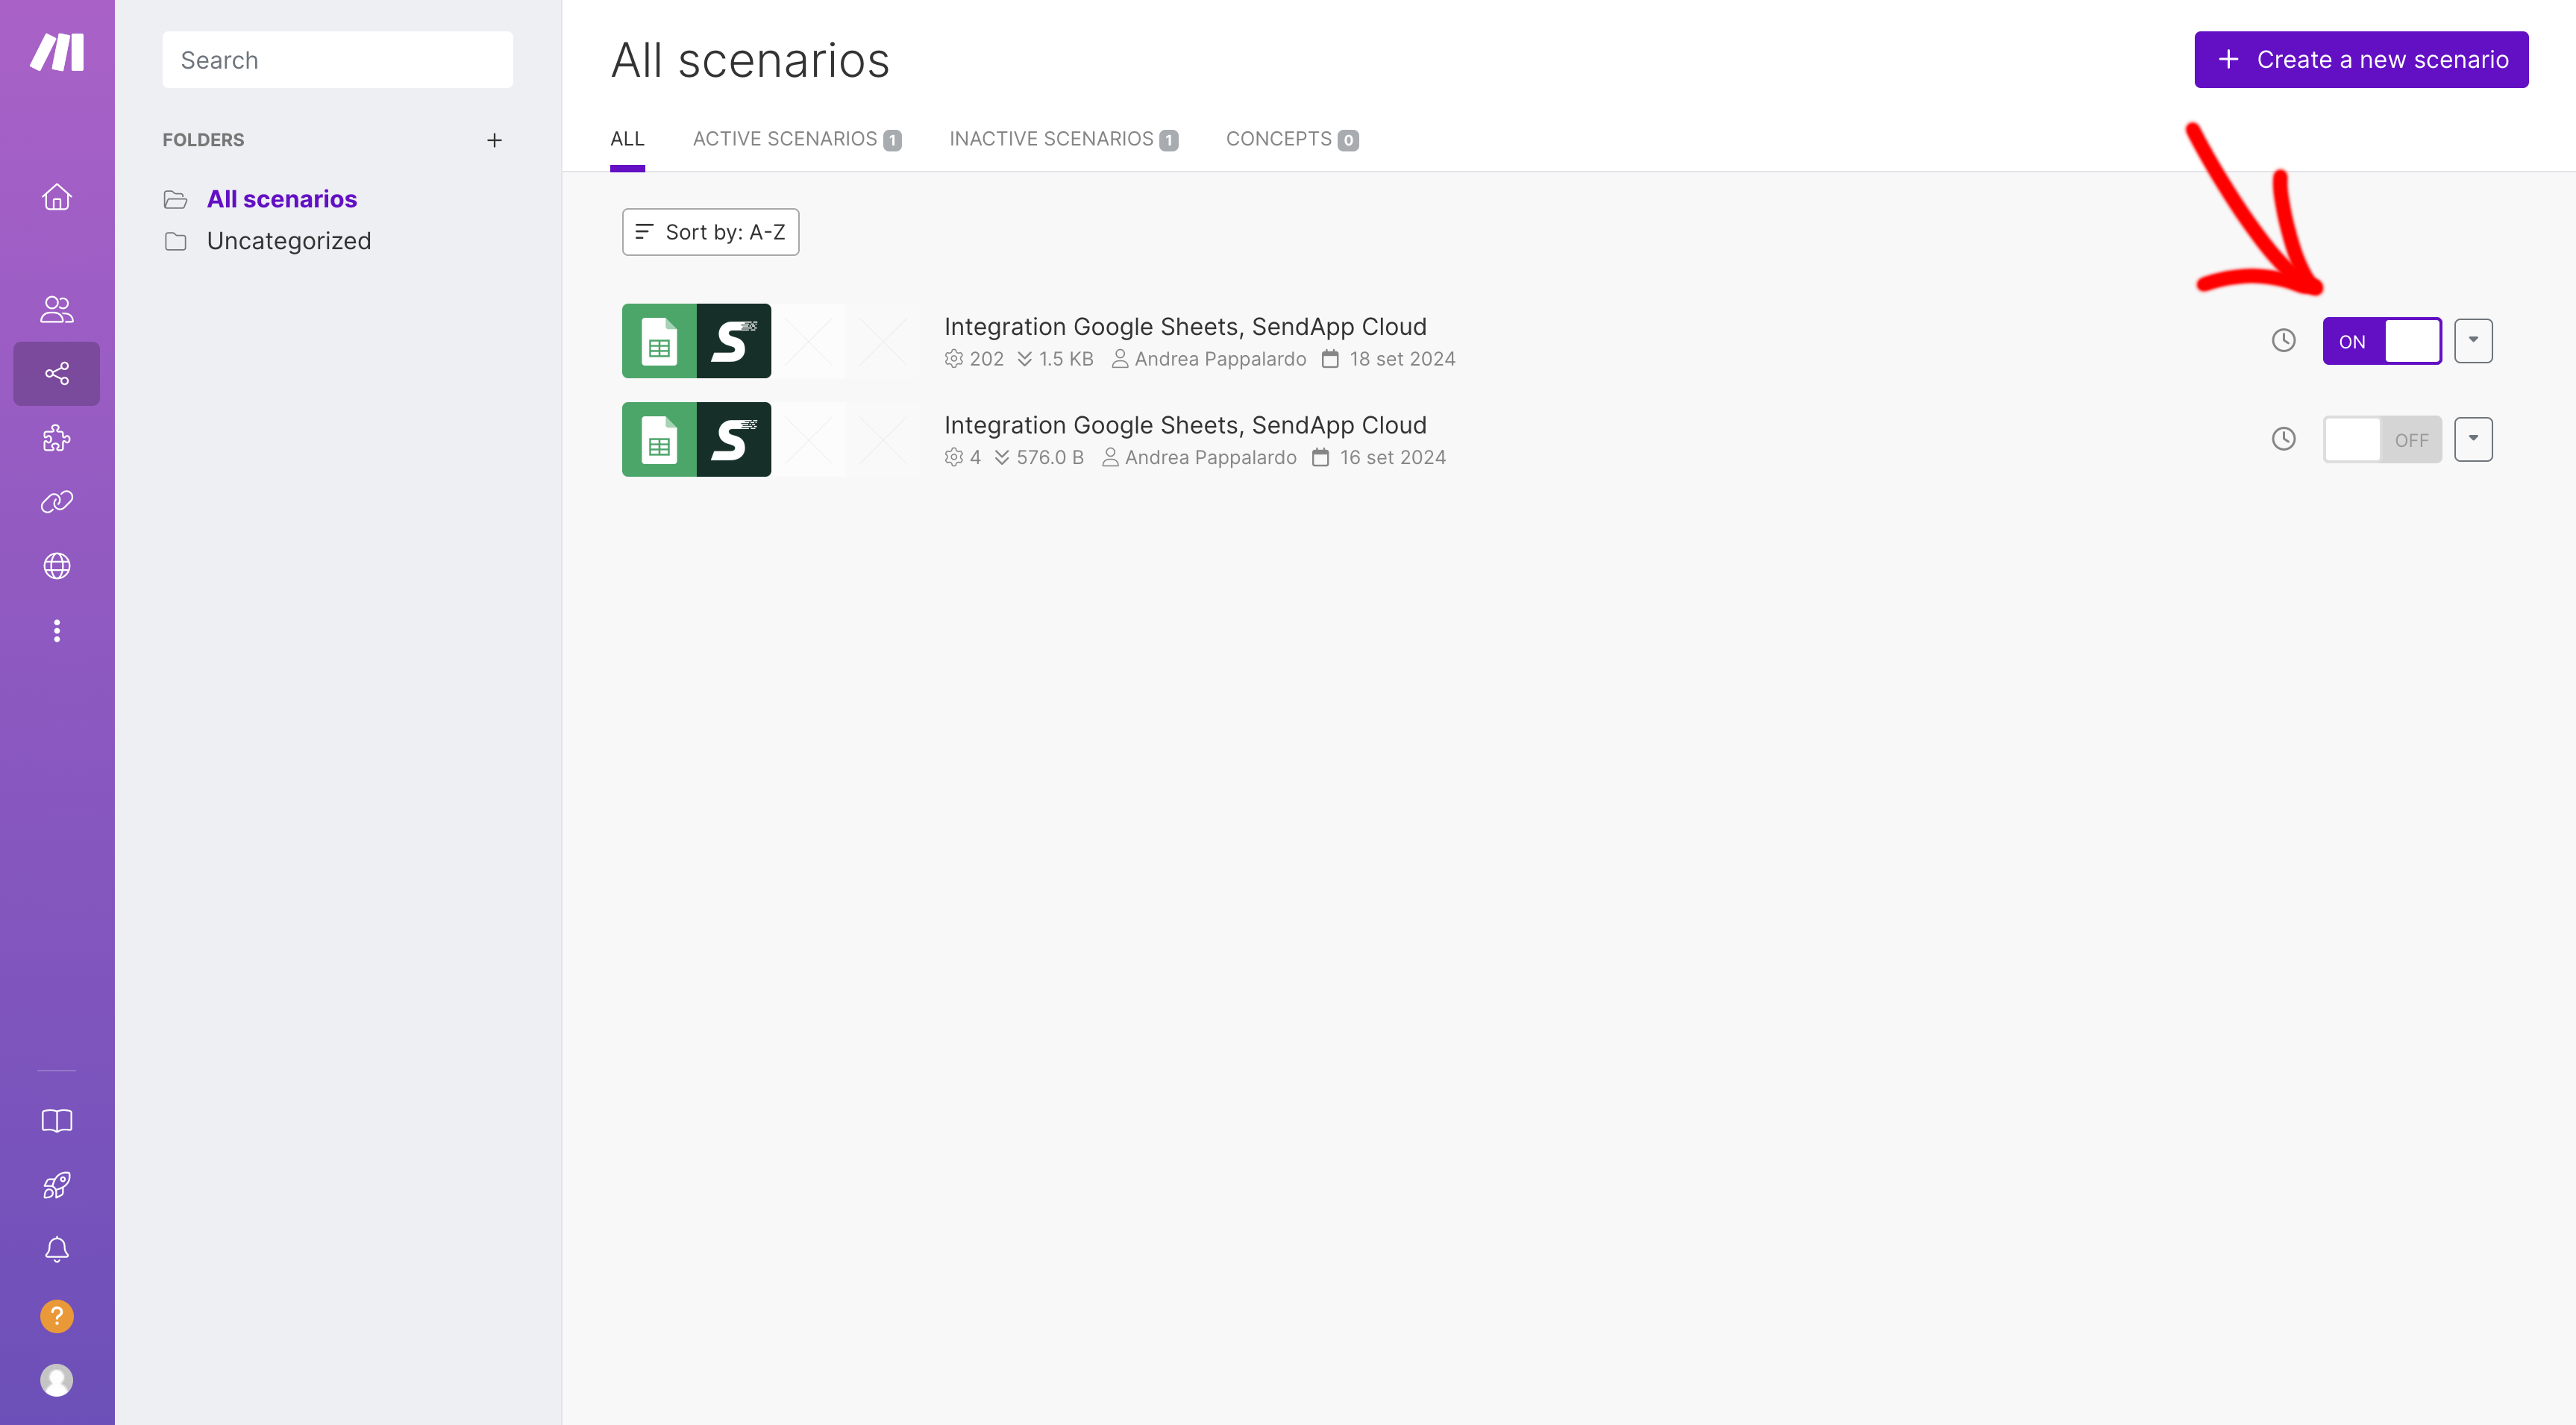
Step 2: Create a New Scenario in Make
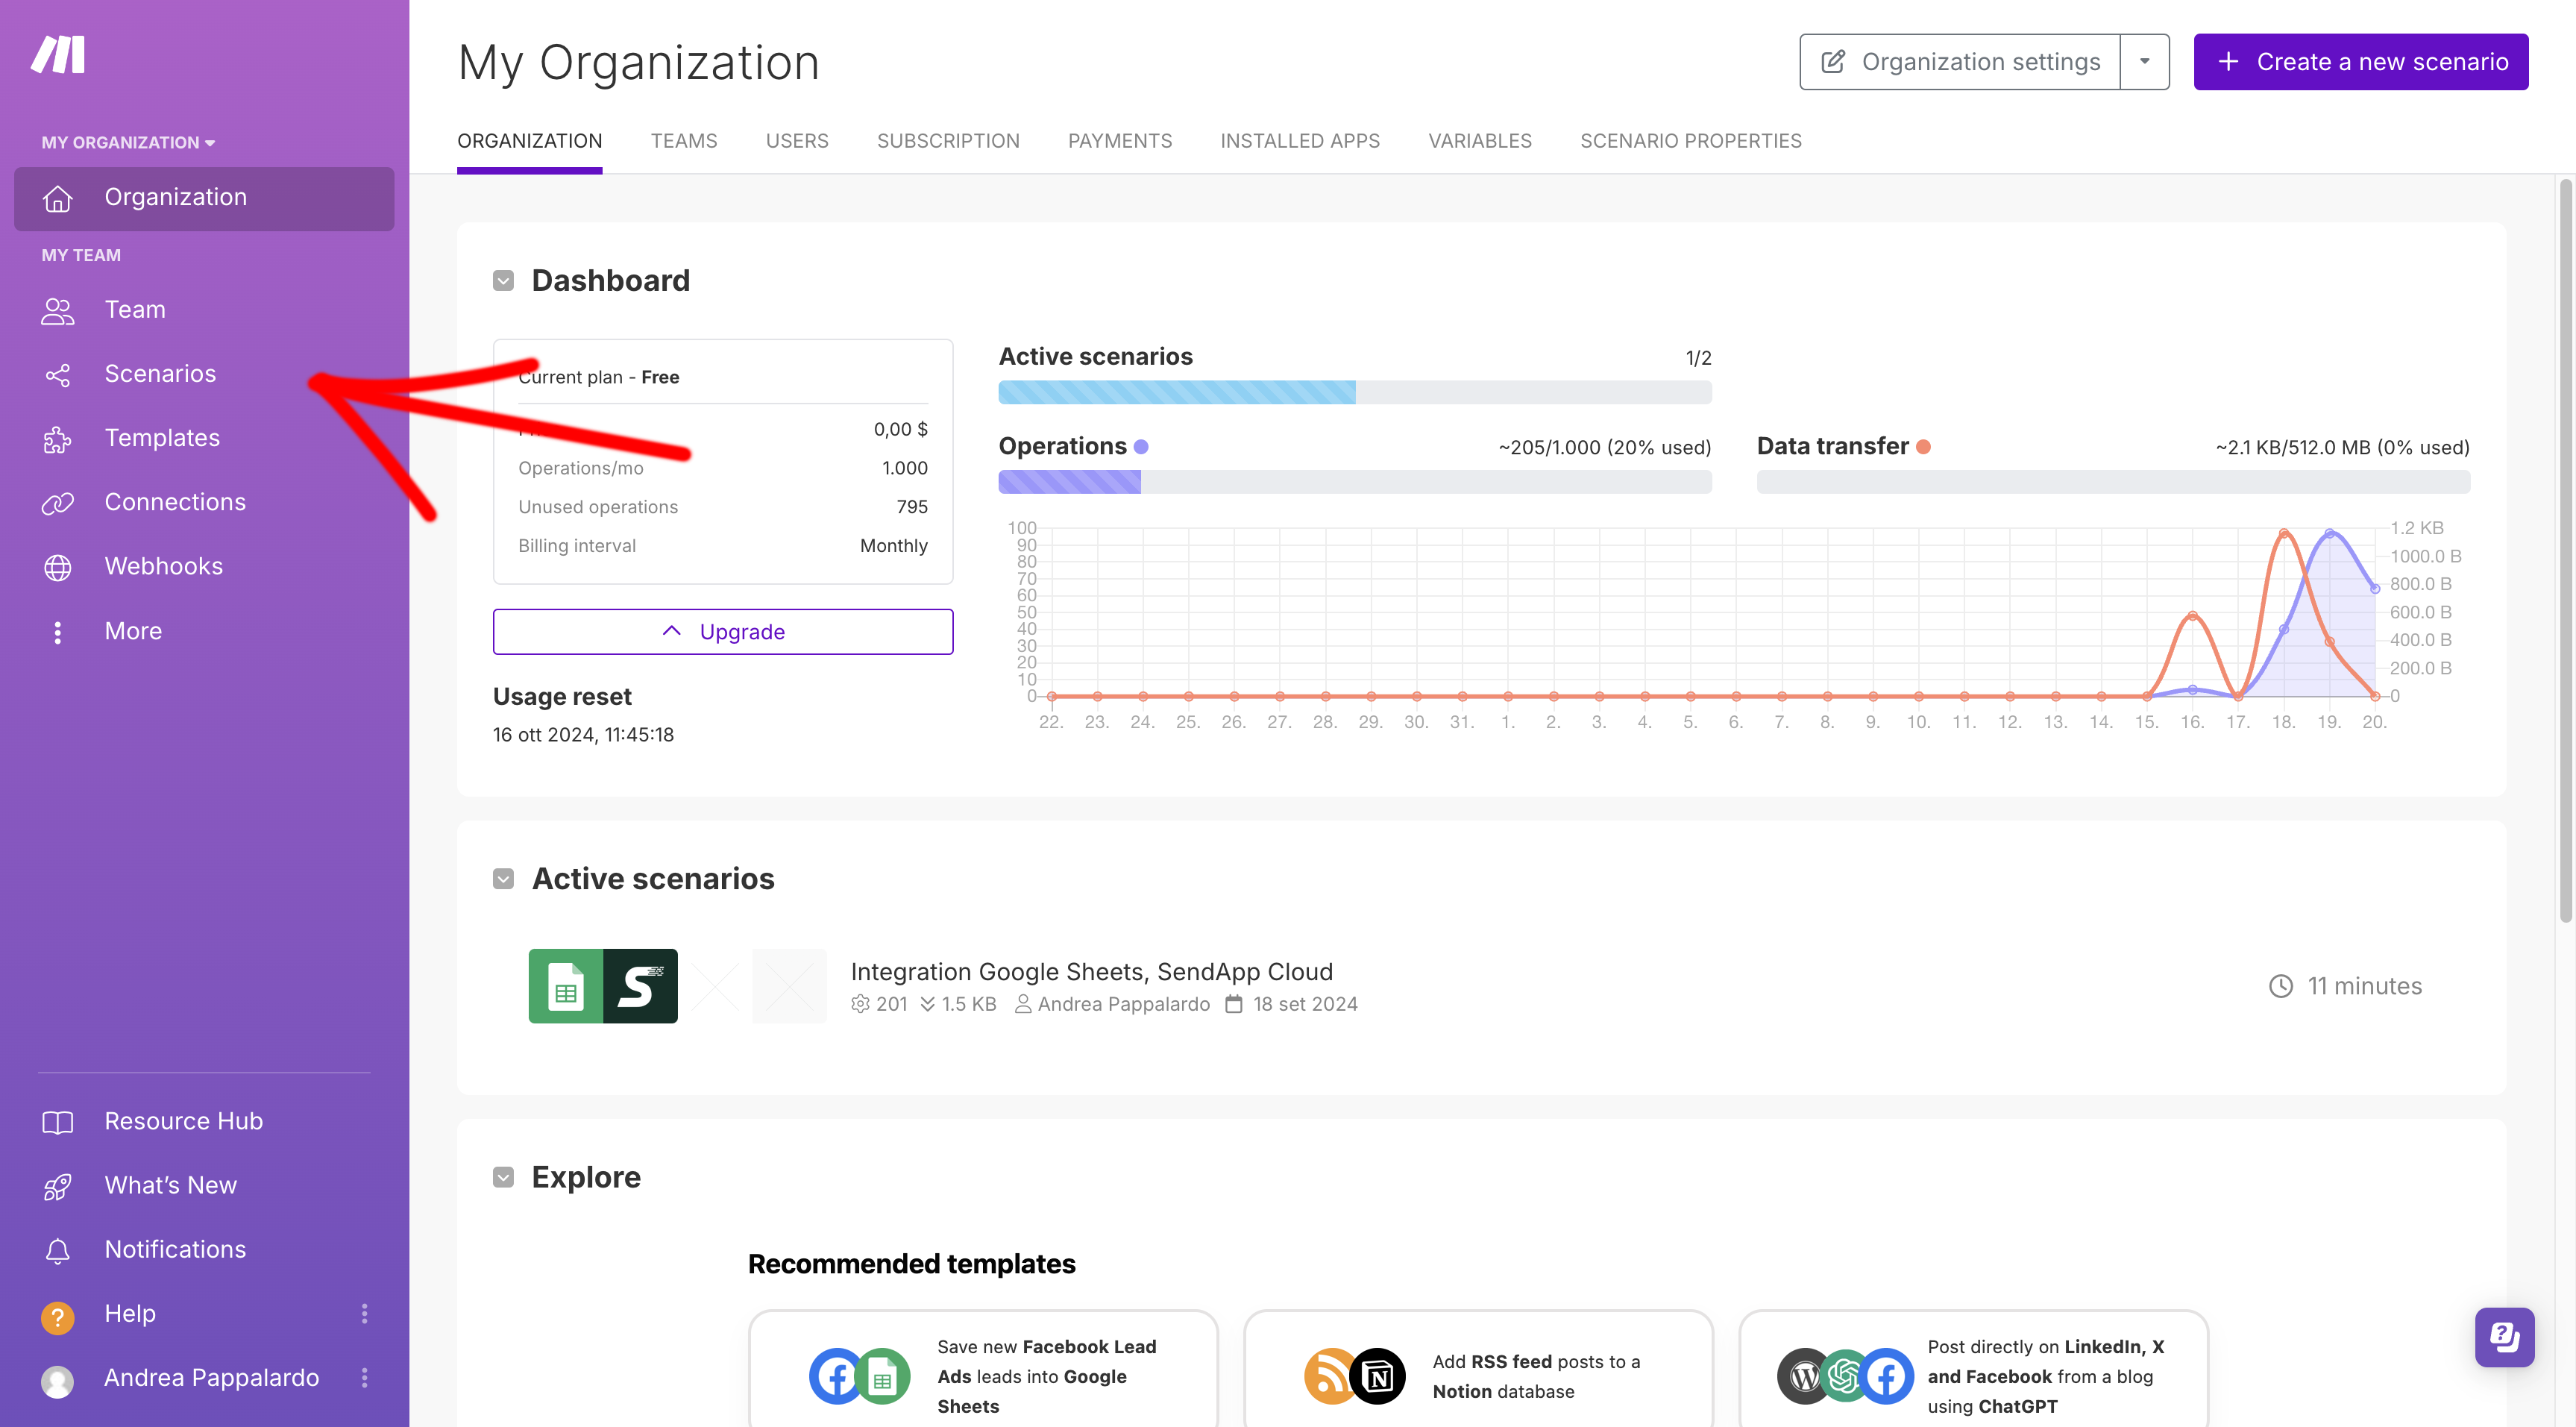
- Log in to your account Make and click on Create a new scenario.
- Click on the symbol “+” to add the first module.
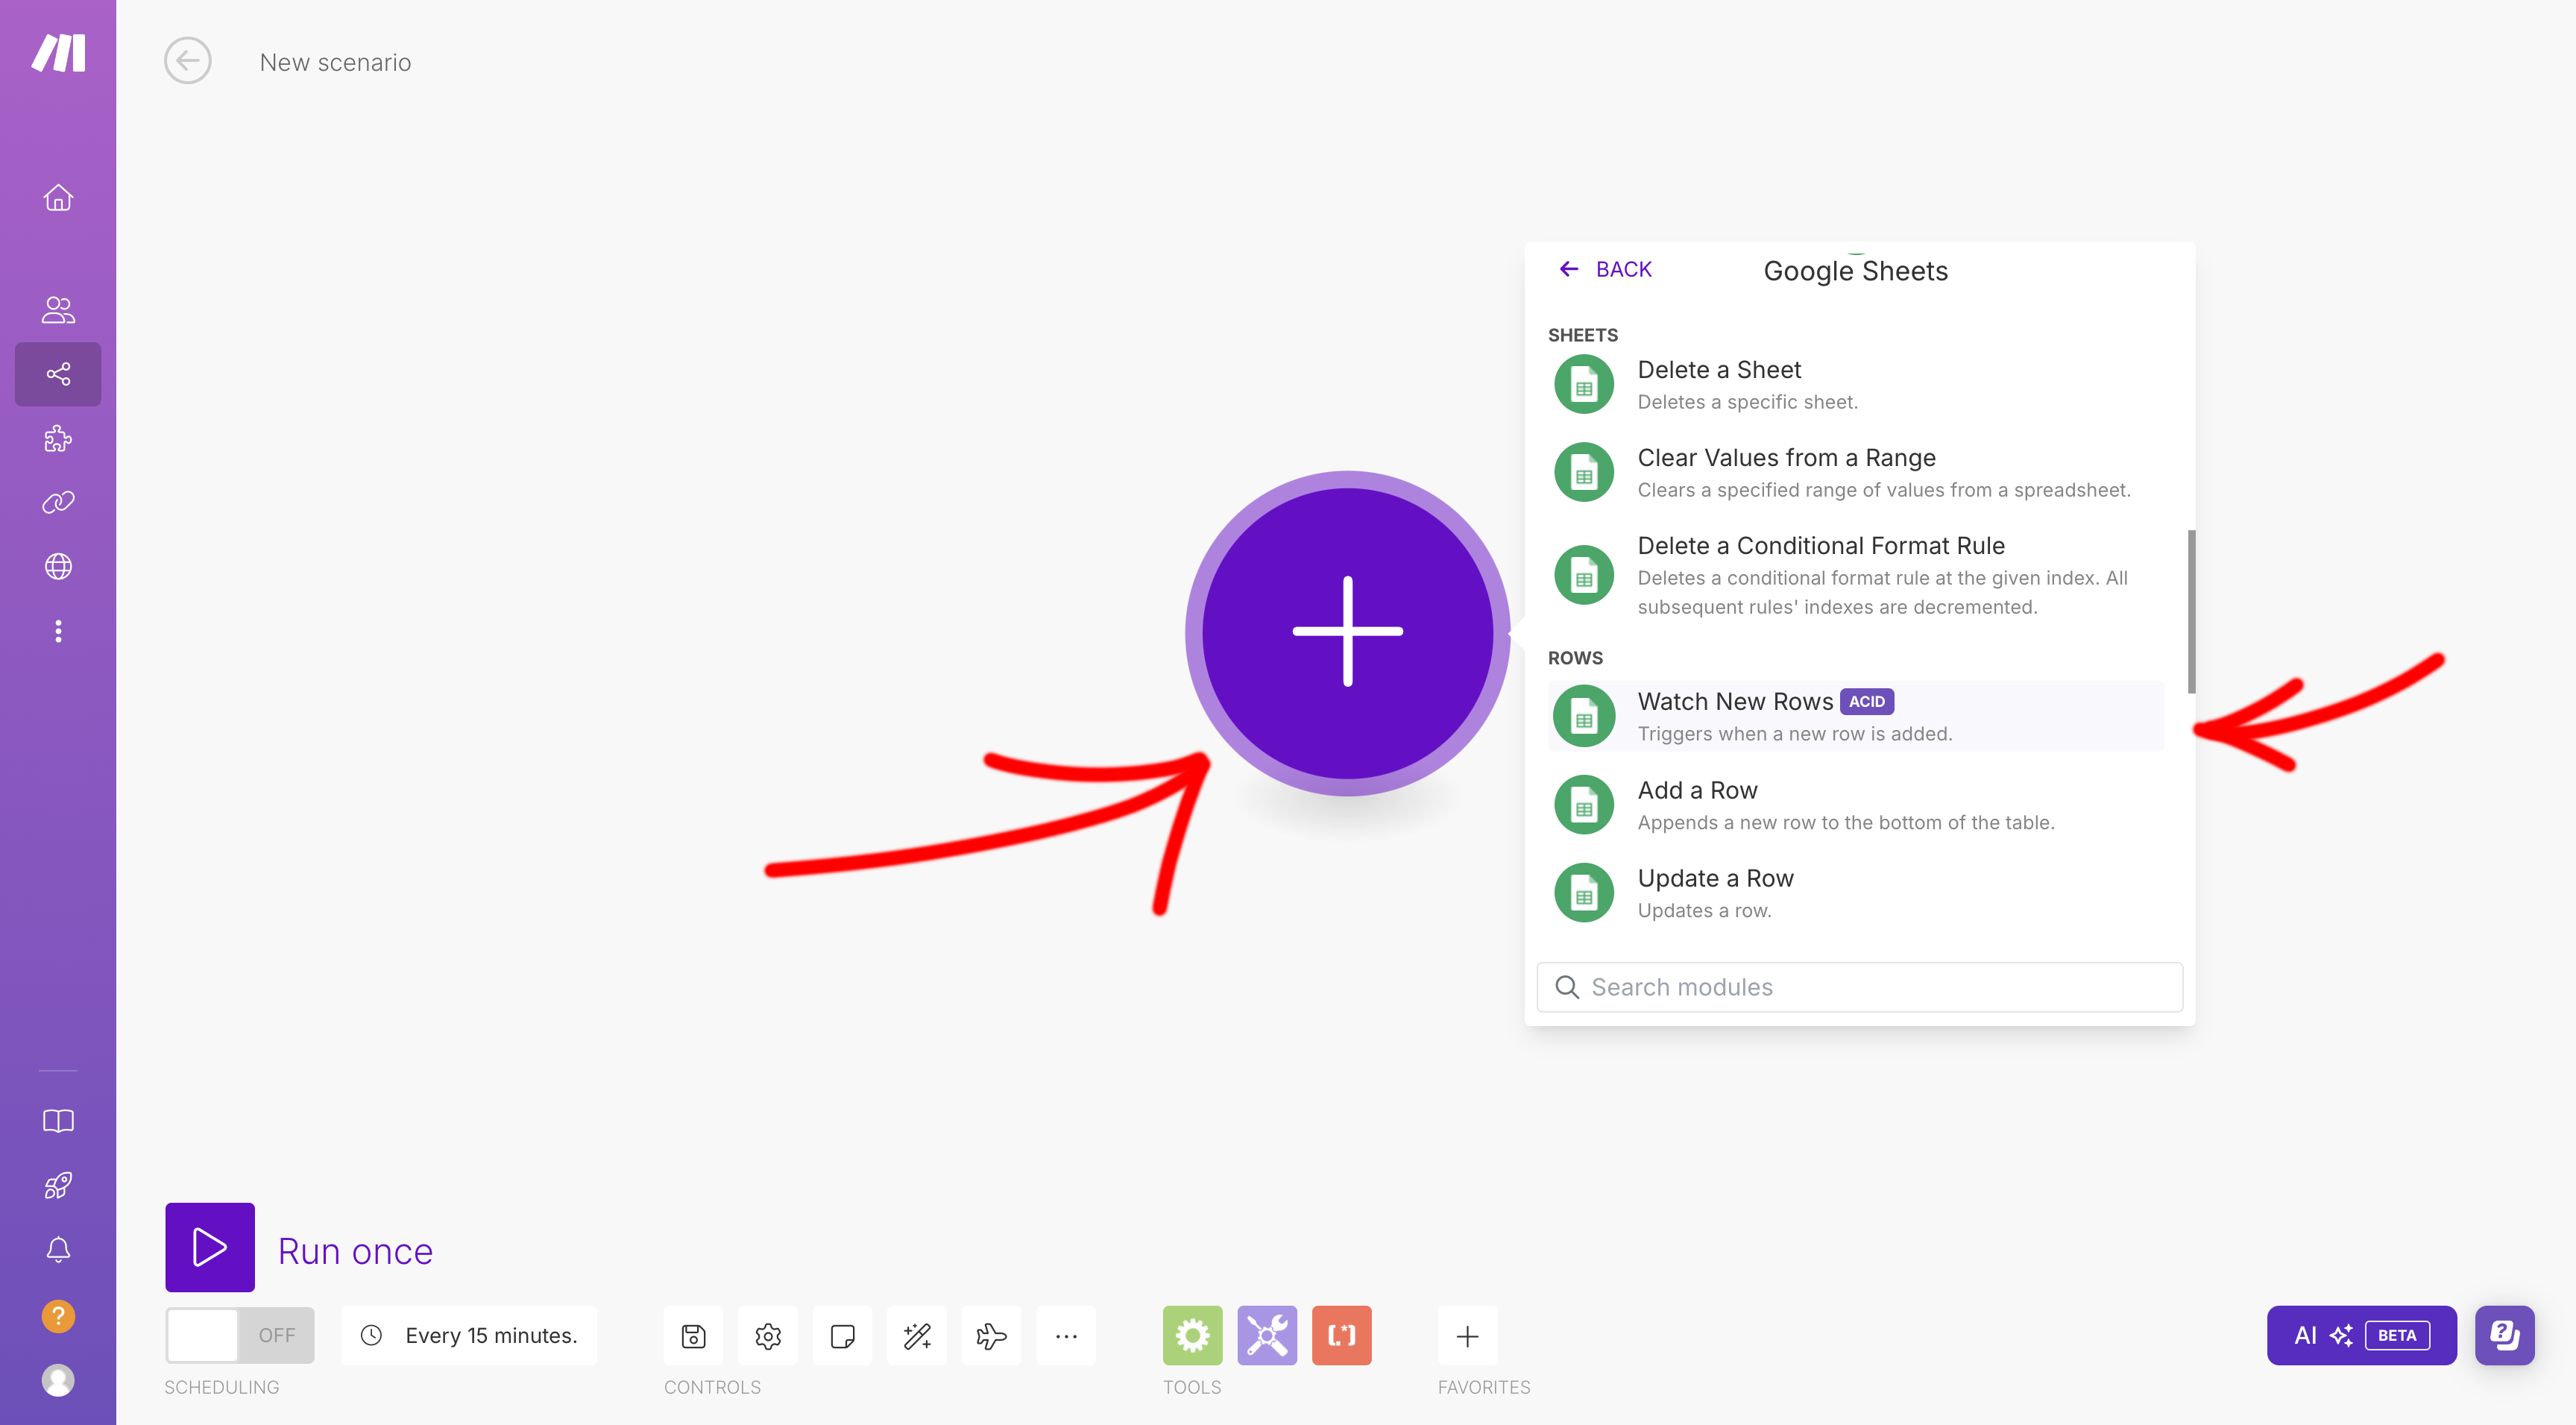
- Search and select Google Sheets.
- In the configuration, choose Drive: myDrive.

- In the field Spreadsheet ID, select the CSV template that you prepared in advance.
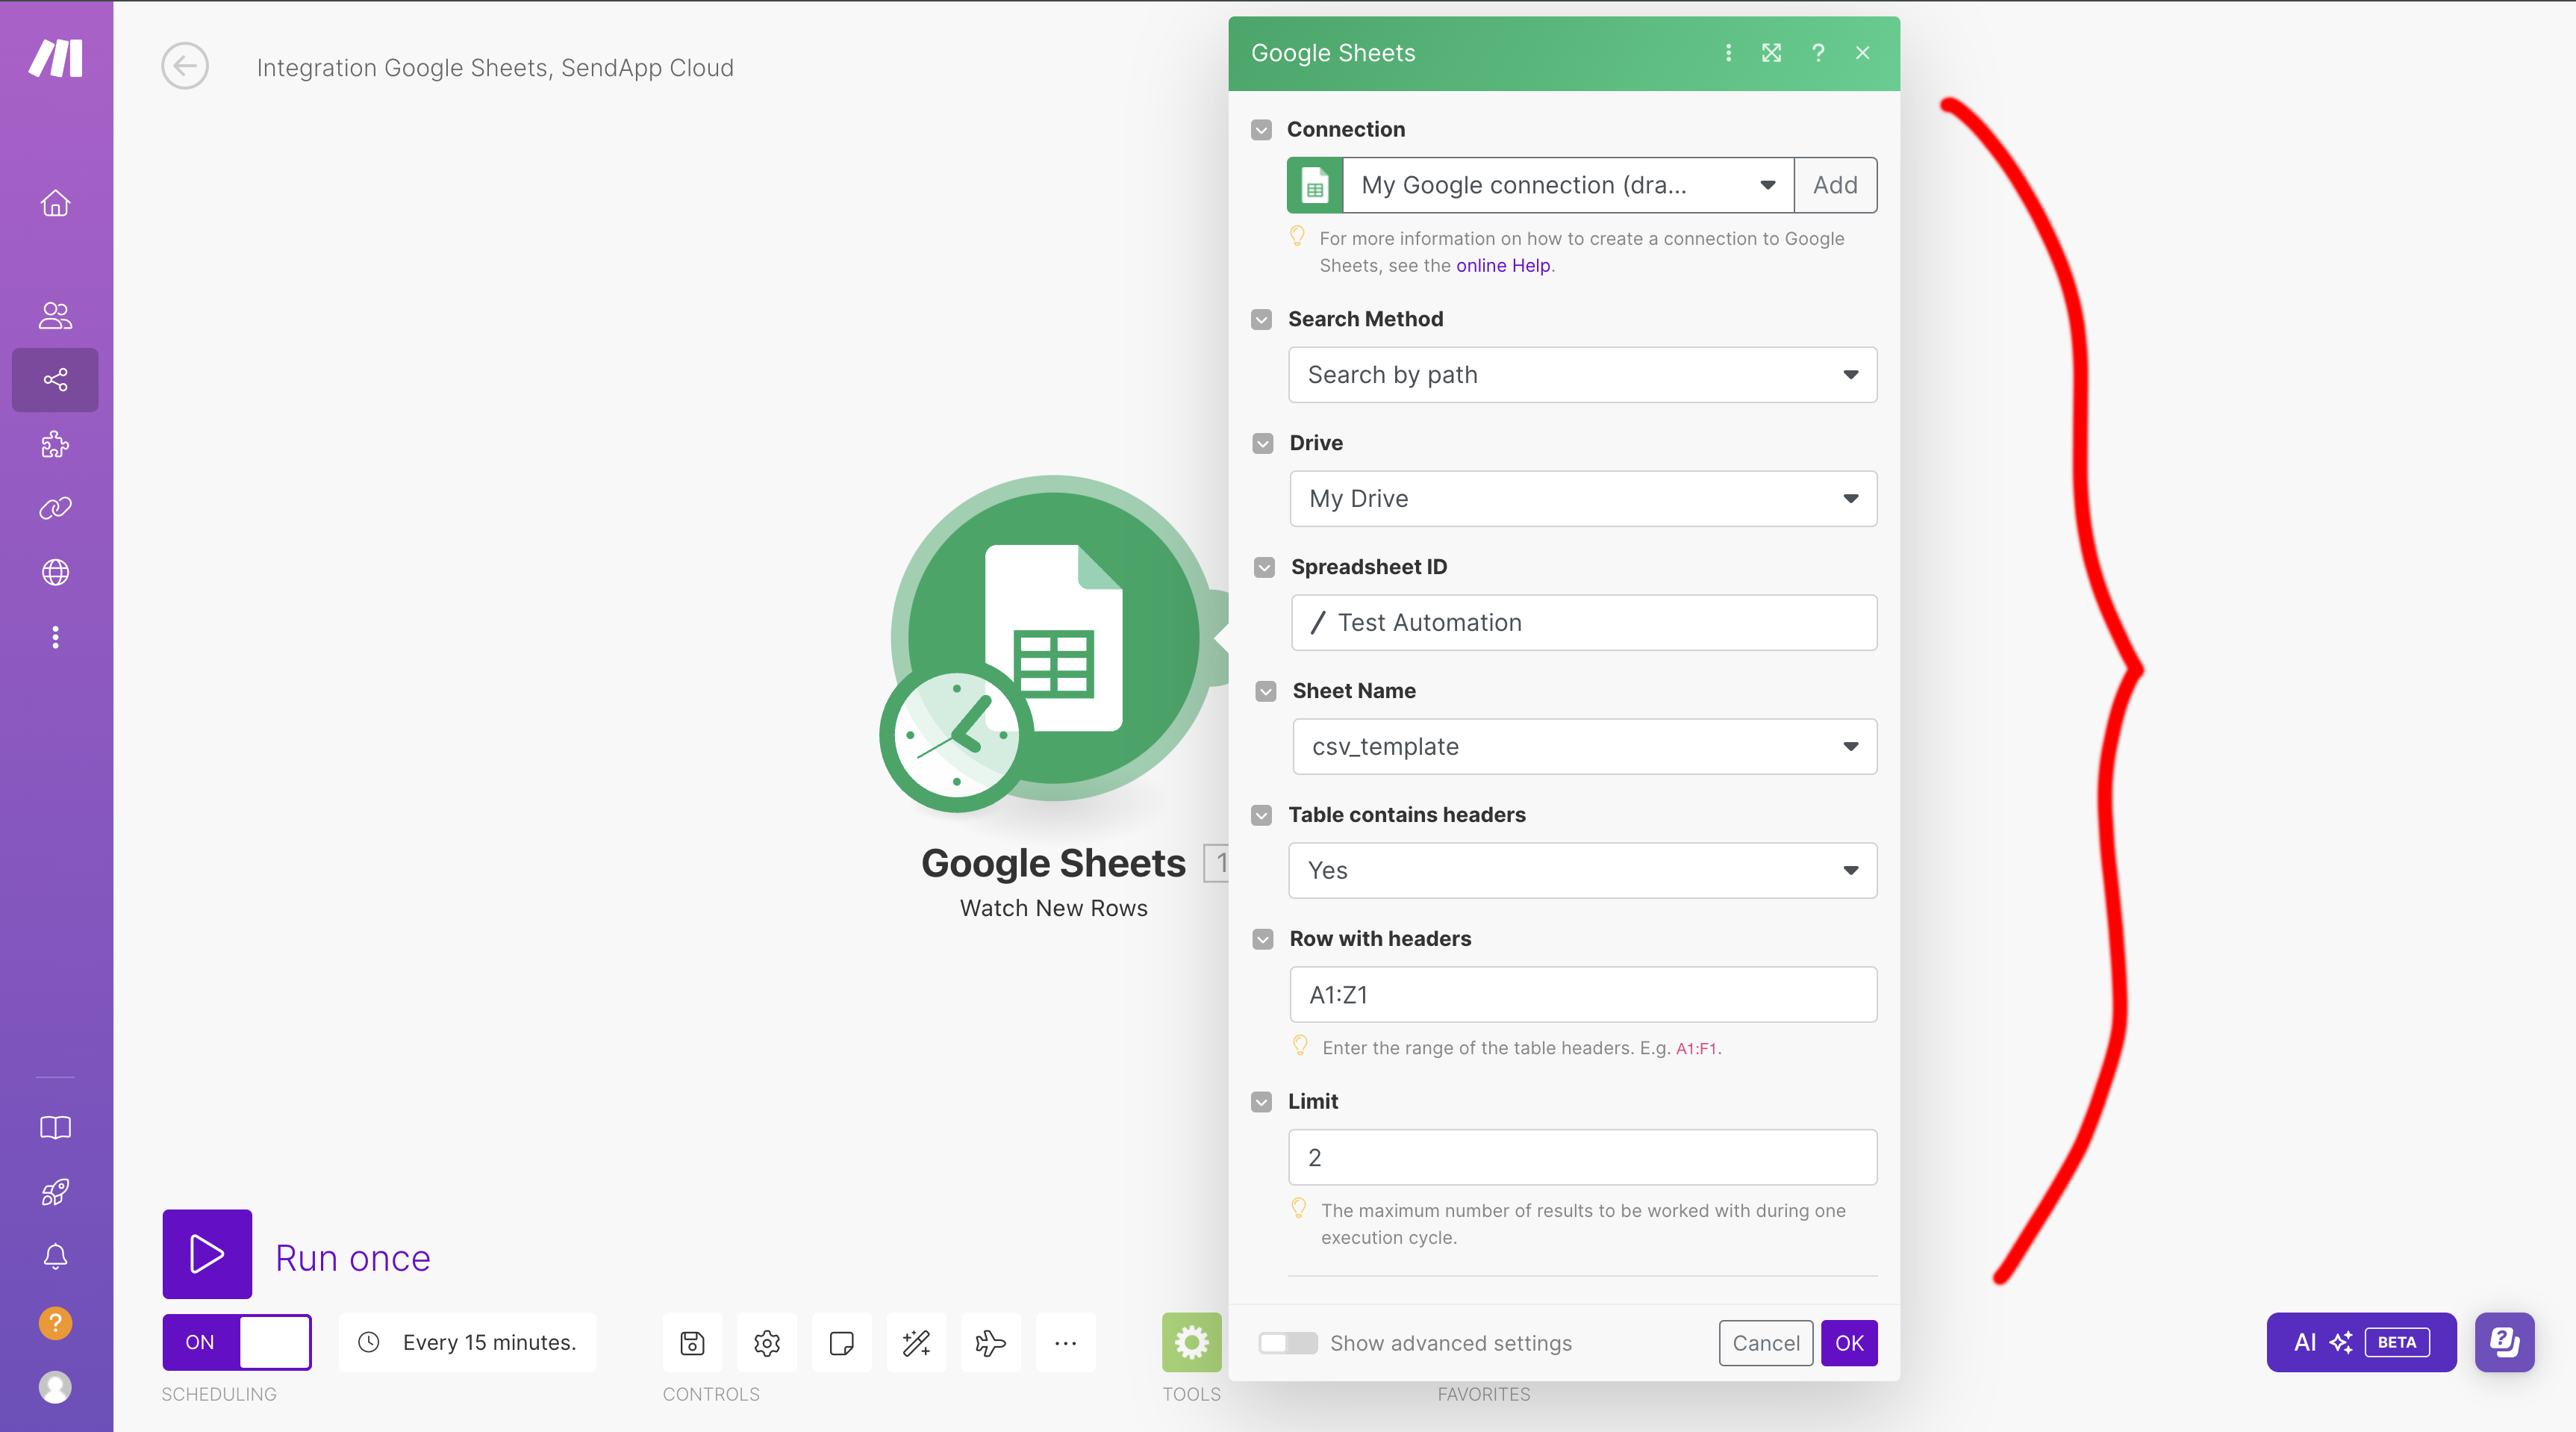
- Select the sheet name (Sheet Name) which contains the data to be used.
- Go ahead to set up the next modules.
Step 3: Add Sendapp as a Second Module
- Click on the symbol “+” to add the second module.
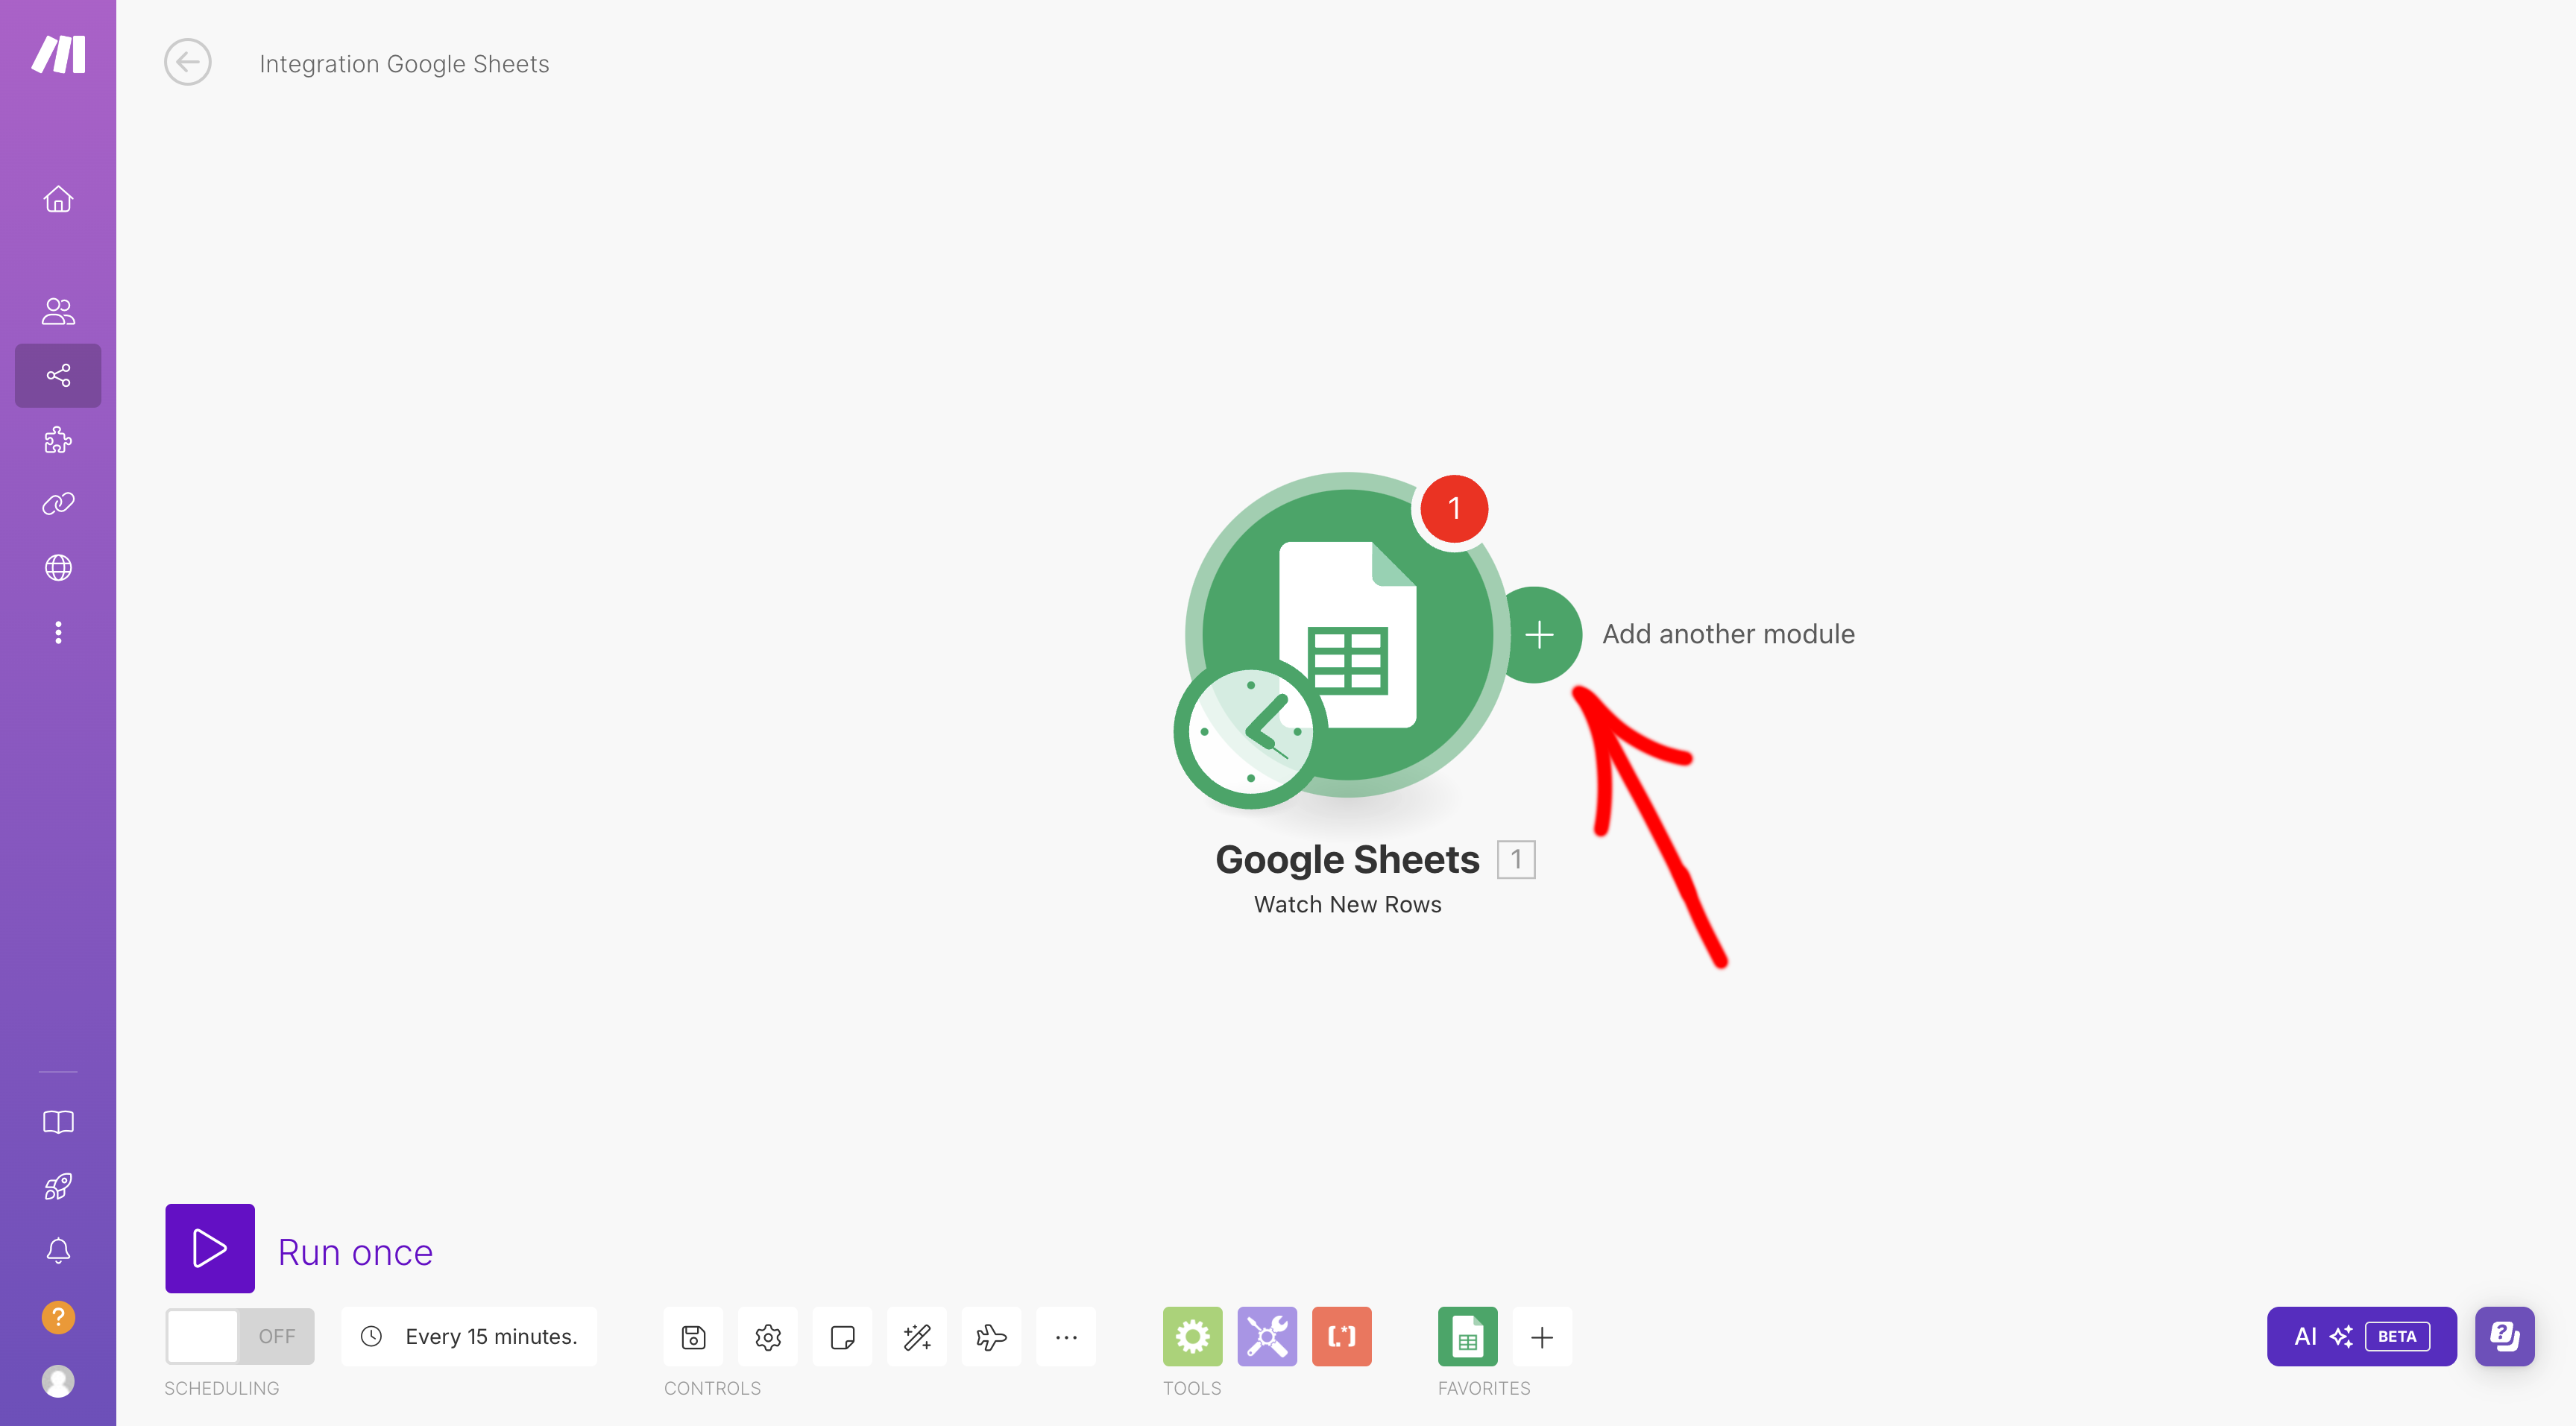
- Search and select Sendapp as an app to connect.
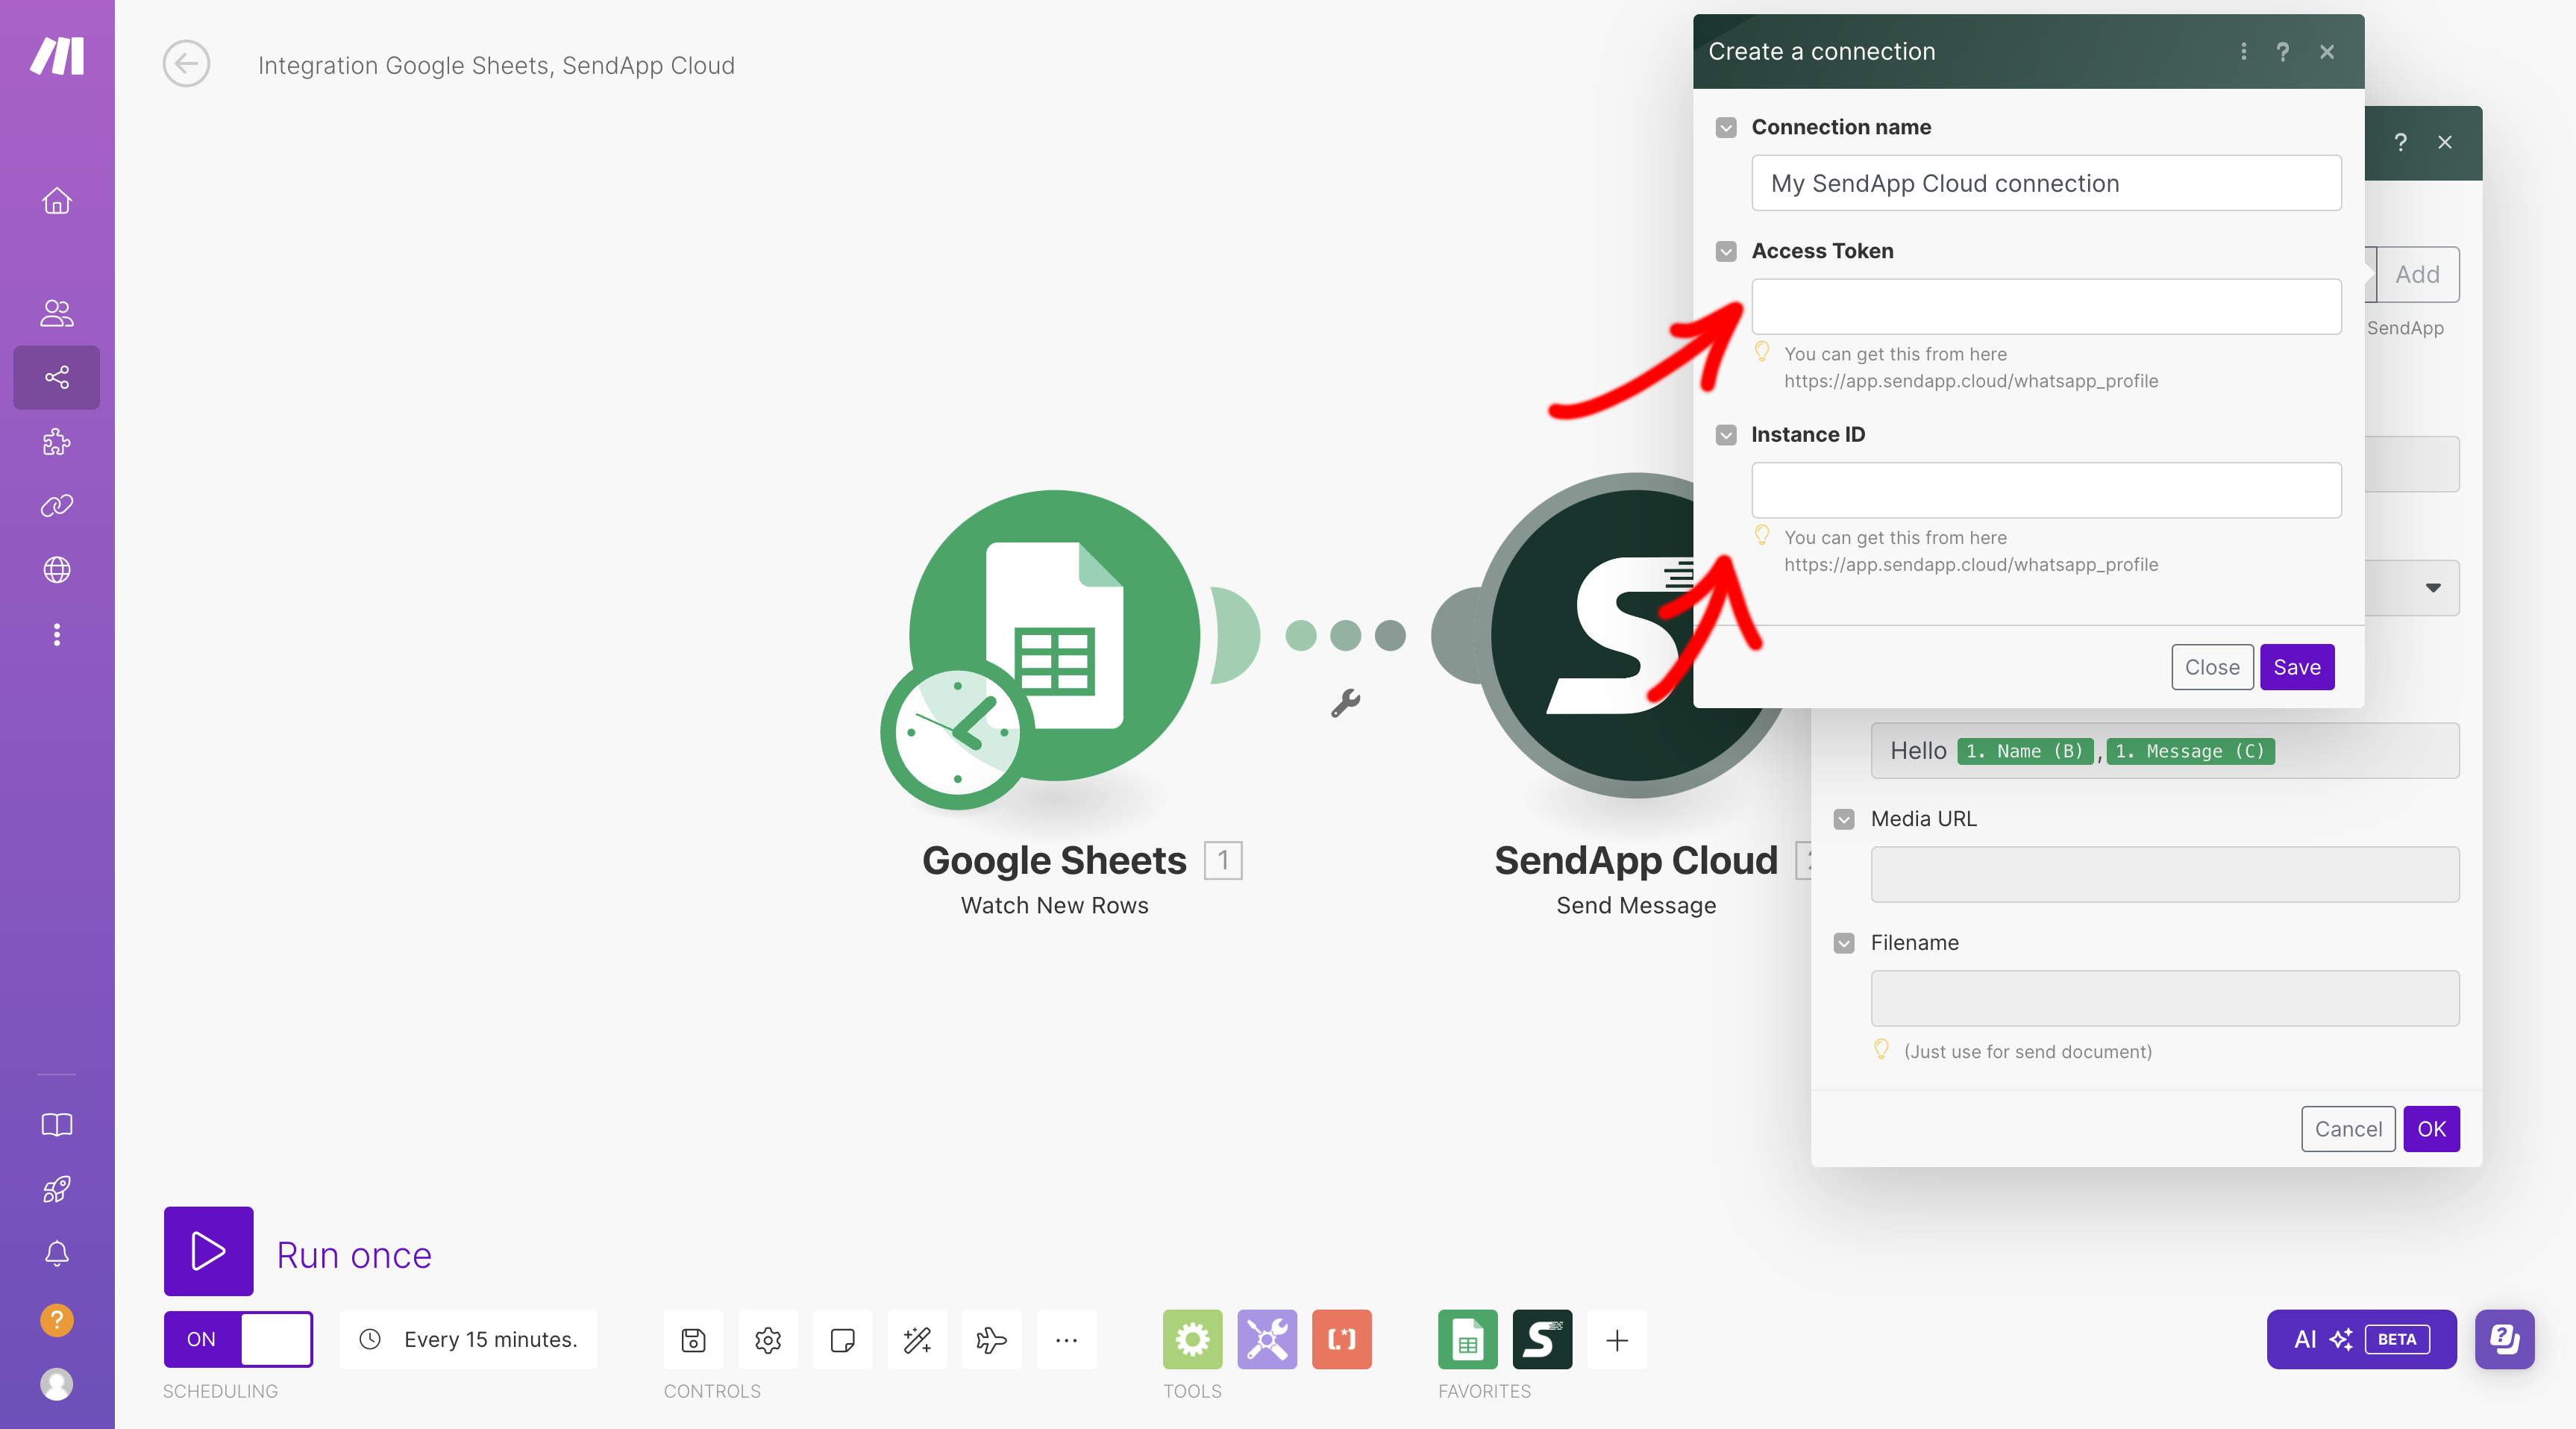
- Click on Add to connect your Sendapp account.
- Enter the’Access Token and the’Instance ID, which you can get from your Sendapp profile by scanning the QR Code with the WhatsApp app.
 Step 4: Configure Sendapp Fields
- Once you have connected Sendapp, in the field Phone Number, select the phone number from the CSV template column containing the phone numbers.
- In the field Message Type, select Text.
- In the field Message, create a personalized message using the data in your Google Sheet. For example, you can include the recipients' names and other specific information from the sheet.

Step 5: Perform the Test
- After you have everything configured, click on OK to save the scenario.
- Run a test To verify that everything is working correctly, add a new row to the Google Sheet and verify that the message is being sent correctly via Sendapp.
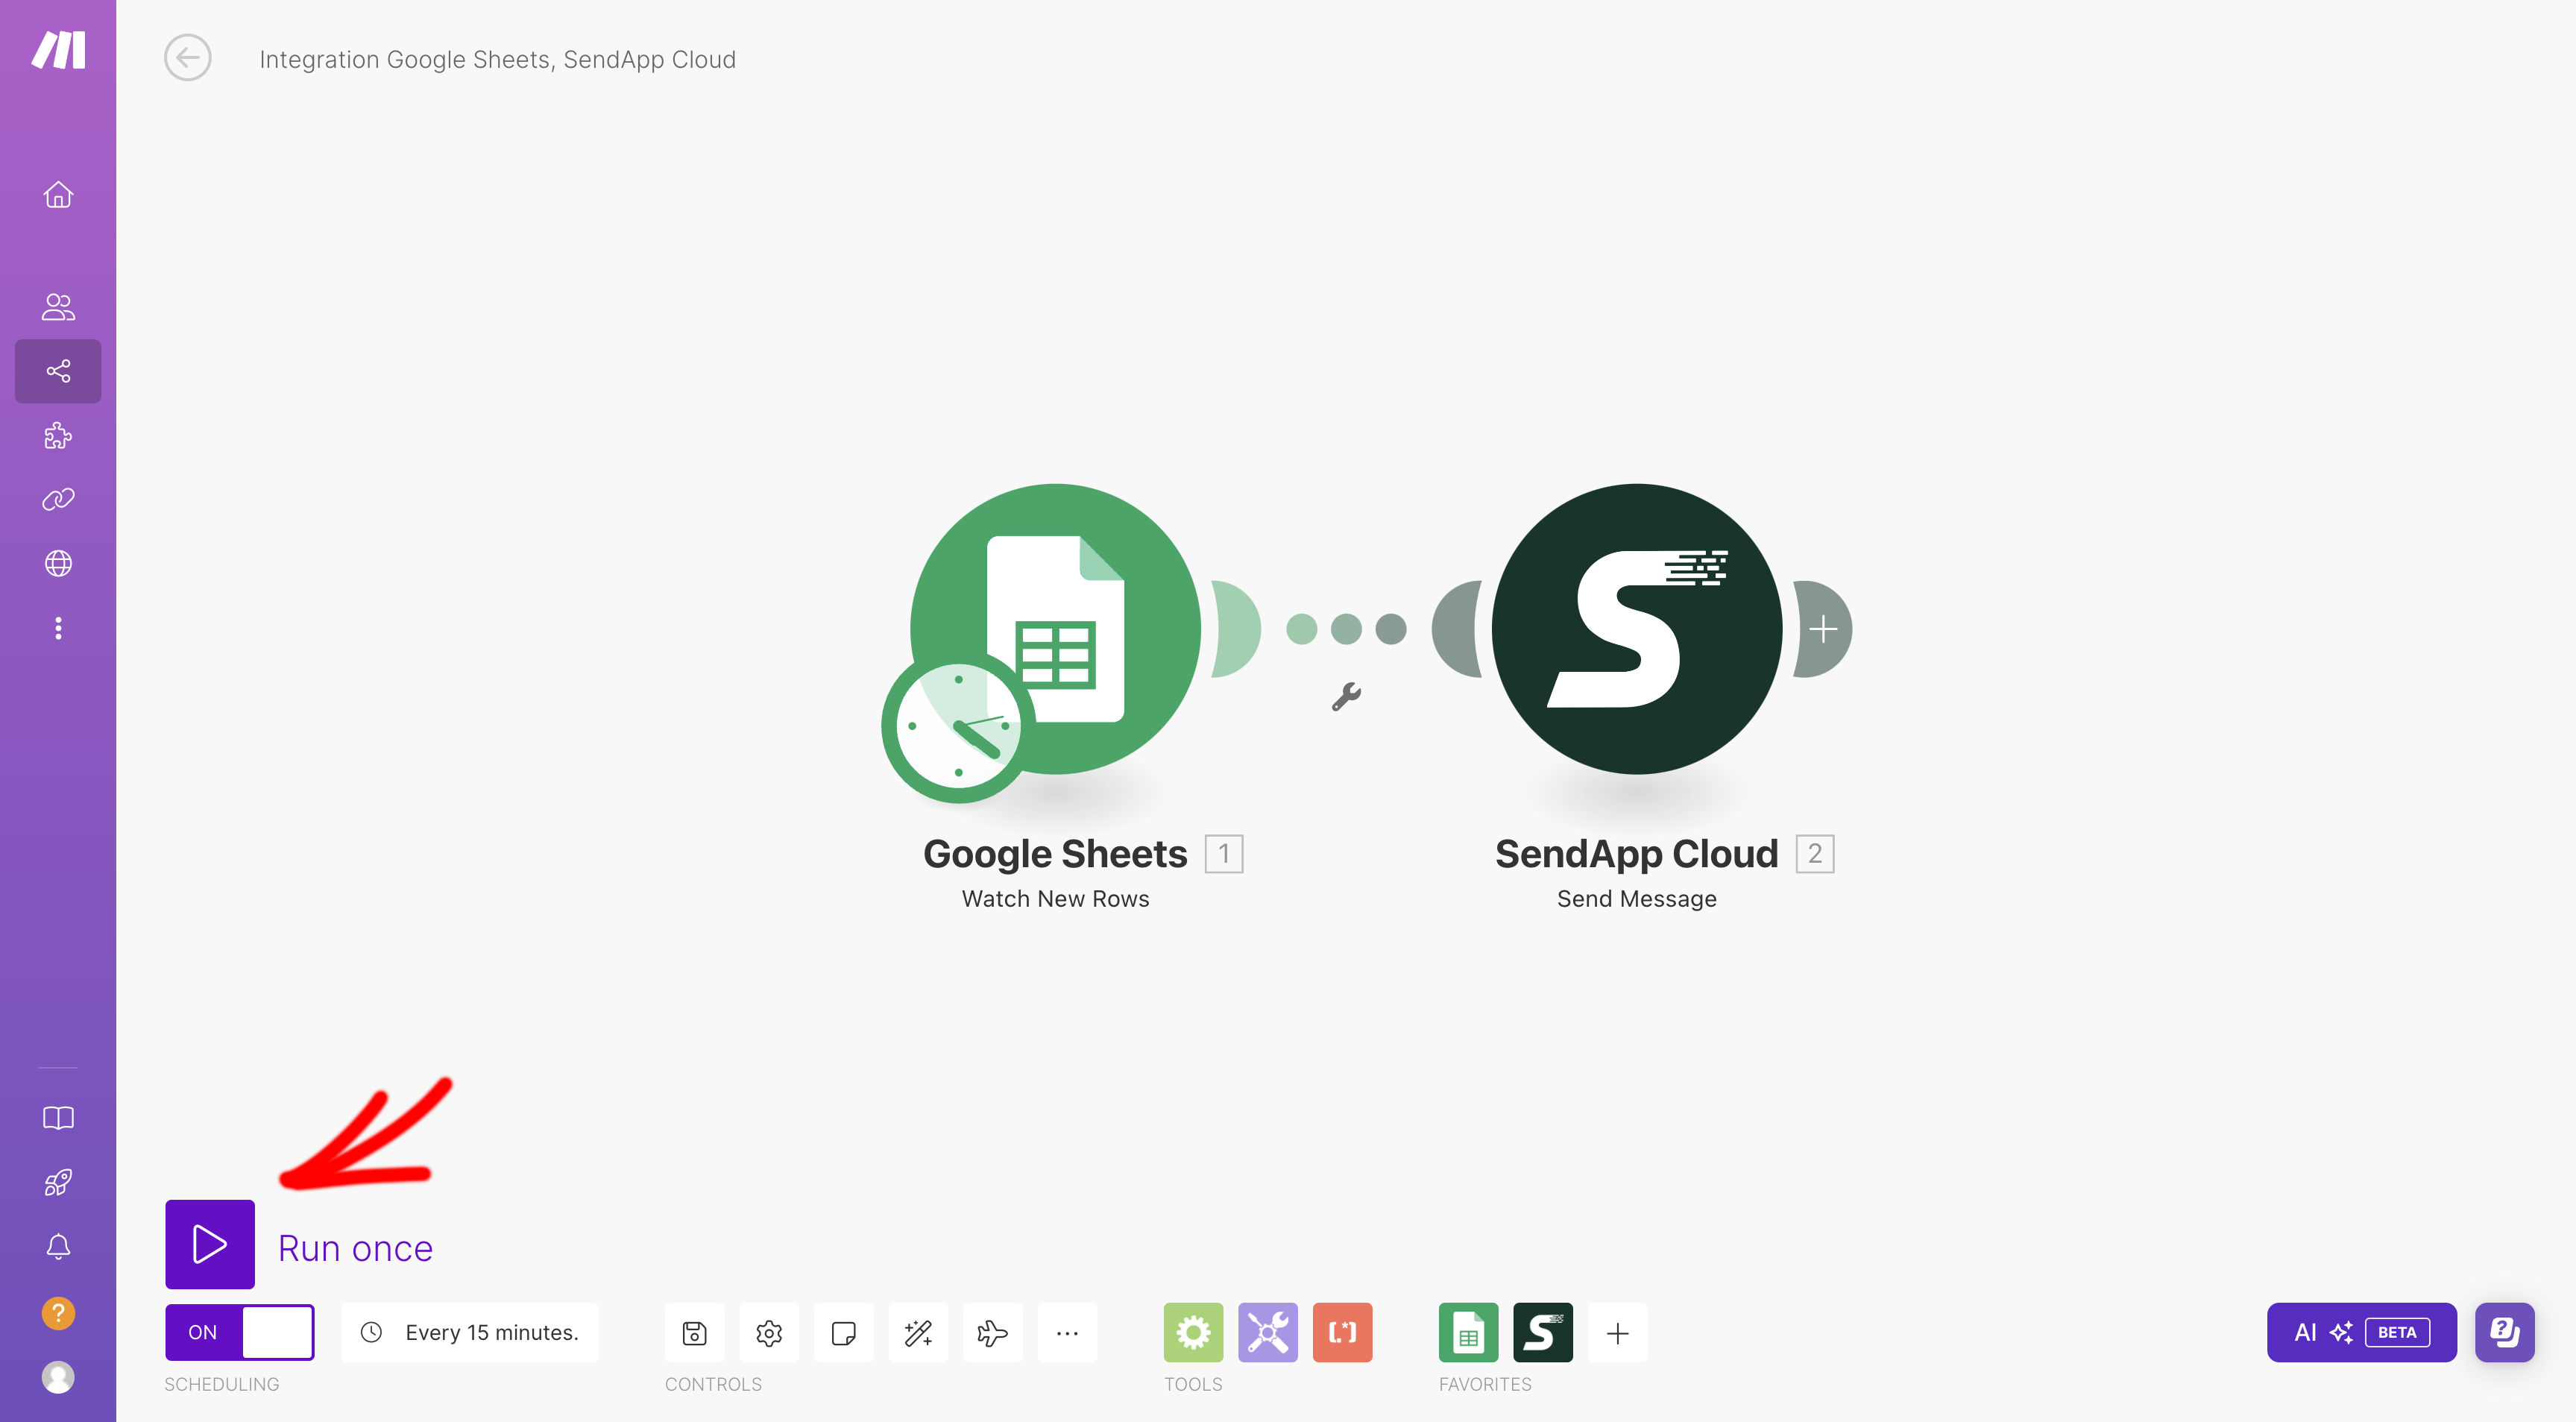
Step 6: Publish the Scenario
- Once the test is successful, click on Public to activate the scenario.
- From now on, whenever you add a new row to your Google Sheet, Sendapp will automatically send a personalized WhatsApp message to the corresponding phone number.
Conclusion
Connect Sendapp to Google Sheets through Make It's a simple and powerful process that lets you automate your WhatsApp communication. This lets you send personalized messages effortlessly, improving efficiency and saving time. Try this integration today and see how it can simplify your daily work.